Have you ever spent way too long trying to perfect your nail art, only to end up with smudges or uneven lines? We’ve all been there. Nail art can feel like a battle between patience and skill, and let’s be honest—not everyone has the steady hand for those intricate designs. That’s where jelly stickers for nails come in. They’re here to save time and frustration, all while giving you that polished, professional look at home.
But what exactly is a jelly sticker for nails, and how do you use it? Let’s dive in.
What Are Jelly Stickers for Nails?
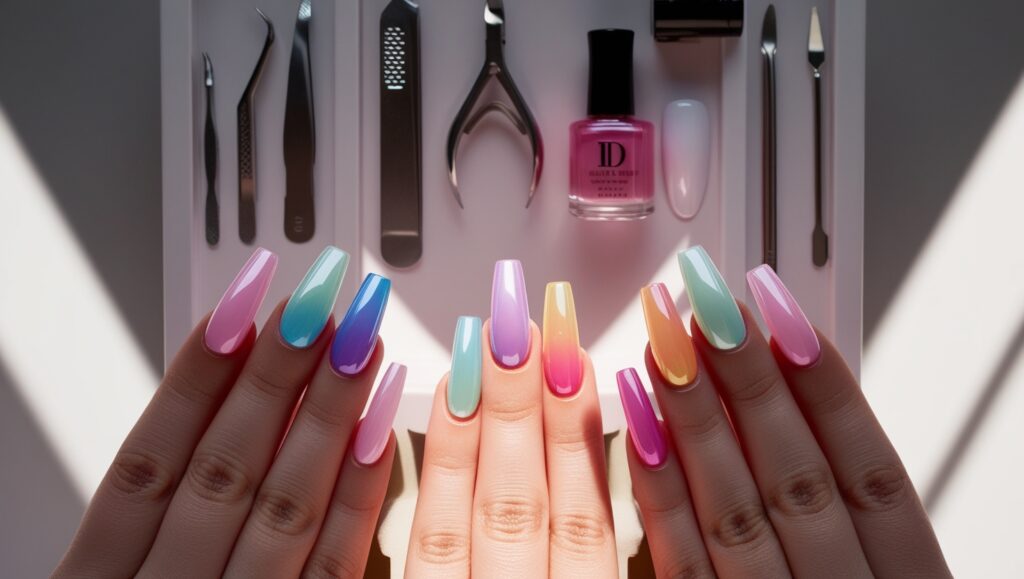
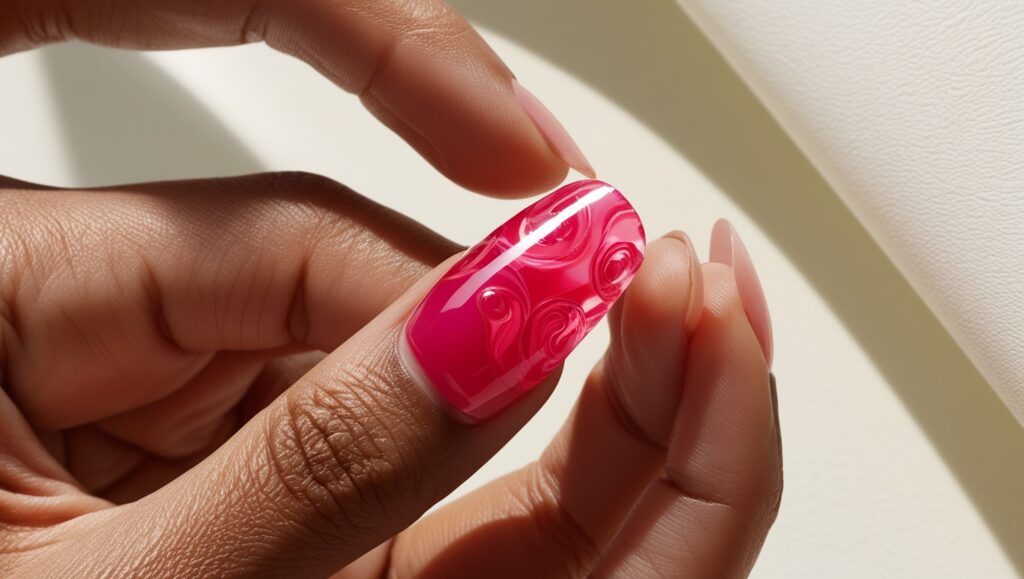
In simple terms, jelly nail stickers are soft, flexible stickers designed to create seamless nail art without the hassle of freehand painting. Think of them as your shortcut to perfect nails, but with a gel-like finish that mimics the look of a salon gel manicure. Unlike traditional nail stickers that might feel stiff or tricky to apply, jelly stickers are smooth and almost melt onto your nail surface.
These aren’t your average nail decals—they’ve got a transparent, gel-like texture that makes them blend perfectly with your natural nail or polish, creating a finish that looks like you spent an hour at the salon (when really, it only took a few minutes).
Benefits of Using Jelly Nail Stickers
Alright, let’s talk about why you should care about jelly nail stickers in the first place. They’re more than just a trendy product; they’re practical and can save you a ton of time.
1. Easy to Apply
You don’t need to be a nail tech to use these. No artistic skill required, no steady hand needed. If you can peel off a sticker and press it onto your nail, you’re good to go. That’s how simple it is.
- Pro tip: Use tweezers to handle the stickers for a clean application without smudging your nails.
2. Quick Application
Here’s the beauty of jelly stickers—they cut down your nail art time drastically. You’re not spending 30 minutes painting tiny details, waiting for layers to dry, or worrying about smudges. Applying jelly stickers can take as little as 10 minutes from start to finish.
3. Safe for Nails
Unlike some nail adhesives that can be harsh or damaging, jelly stickers are gentle on your nails. They don’t require any harsh chemicals to apply or remove, making them a safer alternative if you’re worried about nail health.
- Pro tip: Always apply a base coat before using the sticker to protect your natural nail.
4. Versatile Designs
Whether you’re into minimalistic designs, florals, or geometric patterns, jelly stickers have you covered. They come in various styles, from understated to bold, so you can switch it up based on your mood or occasion. Plus, they work over natural nails, regular polish, or even gel nails.
How to Use Jelly Stickers for Nails: Step-by-Step Guide
Alright, now that you’re convinced, let’s get into the step-by-step process for applying jelly stickers like a pro.
1. Prep Your Nails
The key to a long-lasting manicure starts with proper prep. Clean, filed nails create the ideal surface for jelly stickers to adhere smoothly.
- Step 1: Clean your nails using a nail polish remover to get rid of any oils or residue.
- Step 2: Shape your nails with a nail file and push back your cuticles for a clean base.
- Step 3: Apply a base coat to protect your natural nail and provide a smooth surface for the sticker to adhere to.
Why it matters: Just like with regular polish, prepping your nails ensures better adhesion and a longer-lasting design.
2. Choose Your Jelly Sticker Design
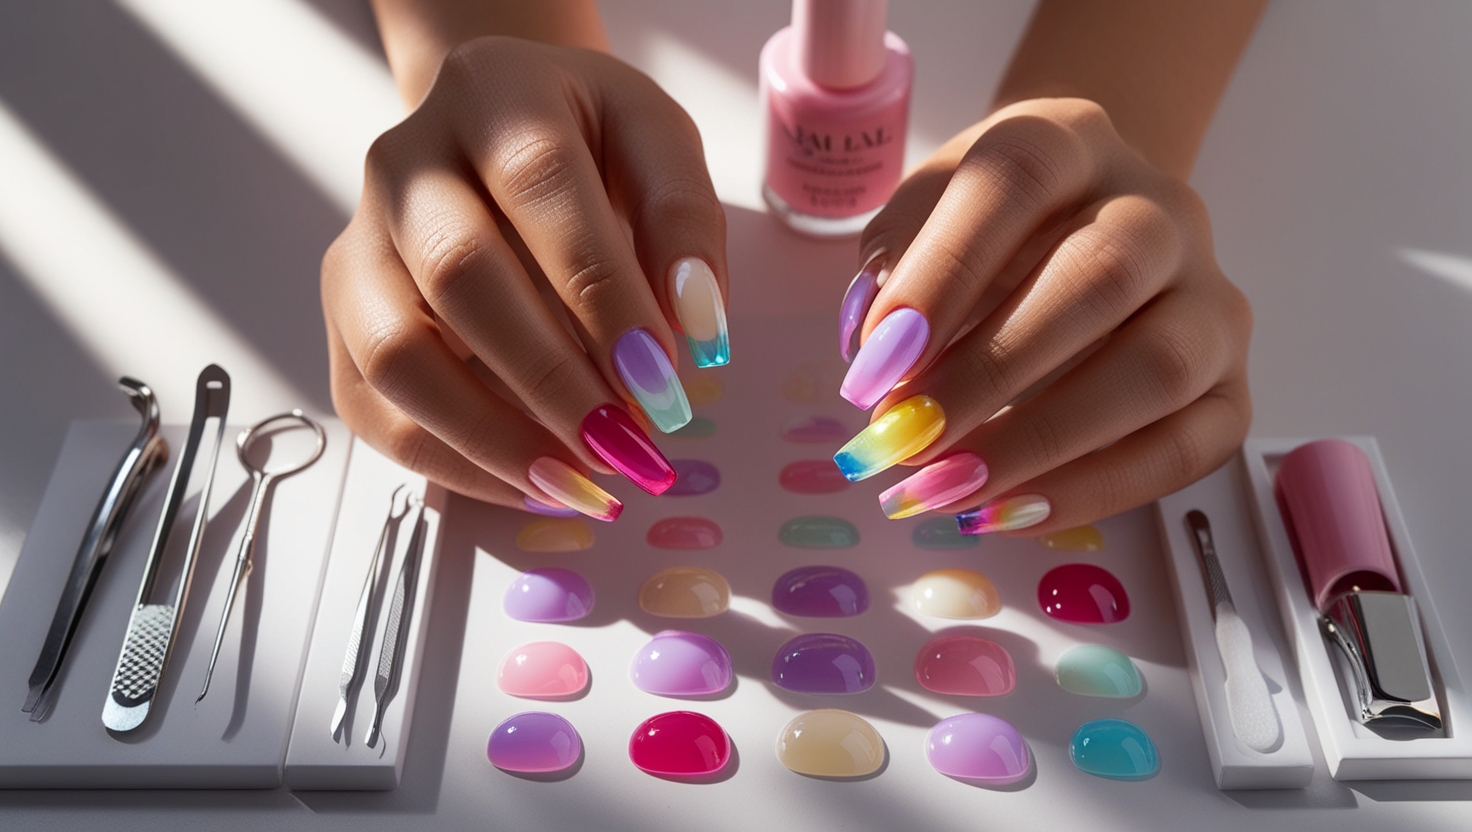
With so many designs available, this is the fun part. Whether you want transparent, gel-like stickers or more intricate patterns, there’s something for everyone. Once you’ve picked your design:
- Step 4: Use tweezers to carefully peel off the jelly sticker. This prevents any fingerprints or smudging.
- Step 5: Line up the sticker with your nail, starting from the base and pressing it down gently toward the tip.
Why it matters: Jelly stickers have a unique, flexible texture, so they mould easily to your nail. But applying them carefully ensures no air bubbles or wrinkles.
3. Press and Smooth the Sticker
Here’s where the magic happens. Jelly stickers are soft and almost elastic, so you can adjust them as needed.
- Step 6: Use a cuticle pusher or a soft tool to gently smooth out any bubbles and press the edges down. Make sure it’s fully adhered to the nail.
Why it matters: The smoother the application, the more professional your design will look. It’s worth taking the extra 30 seconds to ensure there are no bumps or creases.
4. Trim Excess Sticker
If the sticker overlaps your nail edge, no problem. Jelly stickers are super easy to trim.
- Step 7: Use small nail scissors or a nail file to gently remove any excess along the edge of your nails.
Why it matters: Trimming ensures a clean, polished look, making the stickers look like a seamless part of your nail.
5. Seal with a Top Coat
For that salon-quality finish and extra durability, always seal your jelly sticker with a good top coat.
- Step 8: Apply a top coat over the entire nail and sticker. This will lock in the design, giving it a glossy finish and helping it last longer.
Why it matters: A top coat not only adds shine but also acts as a protective layer, ensuring your stickers stay put for up to a week without peeling.

How Long Do Jelly Stickers Last?
Let’s get real—how long do these designs actually last? Well, with proper application (like the steps above), your jelly nail stickers can stay on for up to a week without peeling or fading.
Here’s what affects the longevity of your jelly stickers:
1. Proper Nail Prep
If you skip the prep, don’t be surprised if the stickers start lifting after a few days. Cleaning and filing your nails, applying a base coat, and making sure your nails are free from oil and residue will significantly extend the life of the stickers.
2. Adding a Top Coat
This one’s crucial. Sealing your design with a top coat not only gives it a glossy finish but also ensures that the sticker adheres firmly to the nail and lasts longer. Skipping this step? Your sticker might only last a couple of days.
3. Avoiding Water and Harsh Chemicals
Like any manicure, exposing your nails to excessive water or harsh chemicals (like cleaning products) will shorten the lifespan of your jelly stickers. Be mindful of this if you want to keep your nails looking fresh.
Wrapping It Up: Nail Art Made Easy with Jelly Stickers
So, what is a jelly sticker for nails and how do you use it? It’s your go-to solution for flawless nail art without the stress, time commitment, or skills needed for freehand designs. Whether you’re a total beginner or someone who’s just tired of waiting for polish to dry, jelly stickers give you the flexibility and ease you need.
From simple designs to intricate patterns, jelly stickers are the perfect way to switch up your nail game in minutes. Just follow the steps, prep your nails, and seal with a top coat—and you’re good to go with a professional-looking manicure that lasts.
Why Jelly Stickers Are a Must-Have for Easy Nail Art
Before we jump into more tips, let’s revisit why jelly stickers for nails are a game-changer. They’re not just another trend—they’re practical, affordable, and honestly, a lifesaver if you don’t have the patience or skills for freehand nail art.
1. They’re Effortless but Look Professional
What’s better than having salon-quality nails without actually spending time (or money) at a salon? Jelly stickers make it possible for anyone to create detailed designs that look like they took hours—when in reality, you’ve spent only minutes.
2. Jelly Stickers Can Be Changed Easily
The beauty of jelly stickers is that if you ever get bored of a design, you can switch them out effortlessly. There’s no messy polish remover, and they don’t leave your nails feeling rough or damaged like some adhesives can.
- Pro tip: When you’re ready to change your design, simply peel them off, clean your nails with a bit of polish remover, and you’re ready for the next look.
3. Perfect for Experimenting with New Designs
Jelly stickers let you try new, fun designs without committing to something permanent. Want to test out geometric patterns one week and florals the next? No problem. They’re the easiest way to stay creative without the risk of ruining your nails.
Maximising the Lifespan of Jelly Stickers
Now that you know how to apply them, let’s talk about how to make those jelly stickers last longer. After all, nobody wants their design peeling off after just a few days.
1. Properly Prep Your Nails
The key to any long-lasting manicure, whether you’re using gel polish or stickers, is prepping your nails the right way.
- Buff your nails: Use a nail buffer to lightly buff the surface of your nails. This helps the sticker adhere better and smooths out any ridges.
- Avoid oily lotions: Oils can prevent the sticker adhesive from sticking properly. After cleaning your nails, avoid putting any oily products on your hands.
Why it matters: Proper nail prep creates a smooth base and allows the jelly stickers to stick firmly, preventing early peeling or lifting.
2. Seal the Deal with a Top Coat
Sealing your stickers with a top coat isn’t just for shine; it locks everything in place. A clear, high-gloss top coat also adds an extra layer of protection, helping the stickers last longer.
- Apply a generous top coat over the sticker and along the edges to seal them in.
- For even longer wear, reapply the top coat every 2-3 days.
Why it matters: A top coat will make the jelly stickers last at least a week, even with daily activities like washing your hands or typing.
3. Be Mindful of Water Exposure
One of the biggest threats to the longevity of jelly nail stickers is water. Just like with any manicure, constant water exposure (like washing dishes) can weaken the adhesive and cause the stickers to lift.
- Wear gloves when doing household chores, especially when dealing with water or cleaning products.
- Dry your hands thoroughly after washing to avoid excess moisture around your nails.
Why it matters: Limiting water exposure prevents the stickers from lifting, keeping them looking fresh for longer.
Troubleshooting Common Issues with Jelly Stickers
Even with a solid nail prep routine, there are times when things don’t go perfectly. Here’s how to fix common problems you might face when using jelly stickers for nails.
1. The Sticker Lifts at the Edges
If you notice that the sticker is lifting around the edges, the most likely cause is improper placement or lack of adhesion.
- Fix it fast: Use a small amount of clear polish under the edges to re-stick the lifted area. Press it down firmly and apply a top coat to seal it.
2. Air Bubbles Under the Sticker
Air bubbles can sometimes form if the jelly sticker isn’t pressed down evenly.
- Fix it fast: Use a cuticle pusher or an orange stick to gently press the bubble out, smoothing the sticker as you go.
3. The Sticker Isn’t Sticking at All
If the sticker refuses to stick, it’s probably because the nails weren’t prepped correctly, or there might be oils or moisture on the surface.
- Fix it fast: Remove the sticker, clean the nail with nail polish remover, and reapply. Make sure the nail is completely dry before trying again.

Fun Ways to Use Jelly Stickers for Nails
Jelly stickers are versatile, and you don’t have to stick to just one design. Mix and match, layer them, or even create accent nails for a unique look. Here’s how you can get more creative with your jelly nail stickers.
1. Create Accent Nails
Not every nail needs to be fully covered with stickers. A single accent nail on each hand can add a stylish pop to a basic manicure.
- Use a bold, patterned jelly sticker on just one finger—like your ring finger—while keeping the rest of your nails a solid colour.
2. Mix and Match Designs
Who says you have to stick with one design for your whole manicure? Try combining different jelly stickers across your nails to create a playful, personalised look.
- Pair geometric shapes with floral patterns for a fun contrast, or layer transparent jelly stickers over a solid colour for added depth.
3. Layer with Regular Nail Polish
One of the coolest things about jelly stickers is their transparency. You can layer them over any colour of nail polish to create a unique, multi-dimensional effect.
- Paint your nails with a solid colour and add a transparent jelly sticker on top. The design will stand out more and look polished.
Final Thoughts: Jelly Stickers Make Nail Art Simple
So, what is a jelly sticker for nails and how do you use it? It’s a simple but incredibly effective way to step up your nail game without any fuss. Whether you want a quick nail art fix for an event or you’re just looking for a fun, creative outlet, jelly stickers are an easy, mess-free option.
From easy application to long-lasting results, jelly stickers for nails give you salon-level results without the price tag or time commitment. Just follow these steps and tips, and you’ll have beautiful, professional-looking nails that are guaranteed to turn heads.
