How to Remove Acrylic Nails Without Damage: A Step-by-Step Guide
You’ve had your acrylic nails for weeks, and now it’s time to take them off. But here’s the thing—removing them wrong could seriously damage your natural nails. You don’t want to rip them off and leave your nails weak, brittle, and painful, right? The good news is, learning how to remove acrylic nails without damage is easier than you think, and it doesn’t require a trip to the salon.
Let’s break it down. I’m going to show you how to safely take off acrylics at home using basic tools like acetone, nail files, and some patience. Your natural nails are going to thank you.
Prepping Your Nails for Safe Removal
Before you dive into the actual removal process, you’ve got to prep your nails. This step is key because it makes the whole process smoother and safer for your natural nails.
1. Trim Your Acrylic Nails
The first thing you need to do is trim down those acrylic nails. Use nail clippers to cut them as short as possible. By trimming them, you’re removing a bulk of the acrylic, which means you’ll have less to deal with when soaking or filing.
Pro tip: Don’t try to cut through thick acrylic with one big clip. Take it slow, trimming small sections so you don’t crack or damage your natural nails underneath.
2. File the Surface of the Acrylic
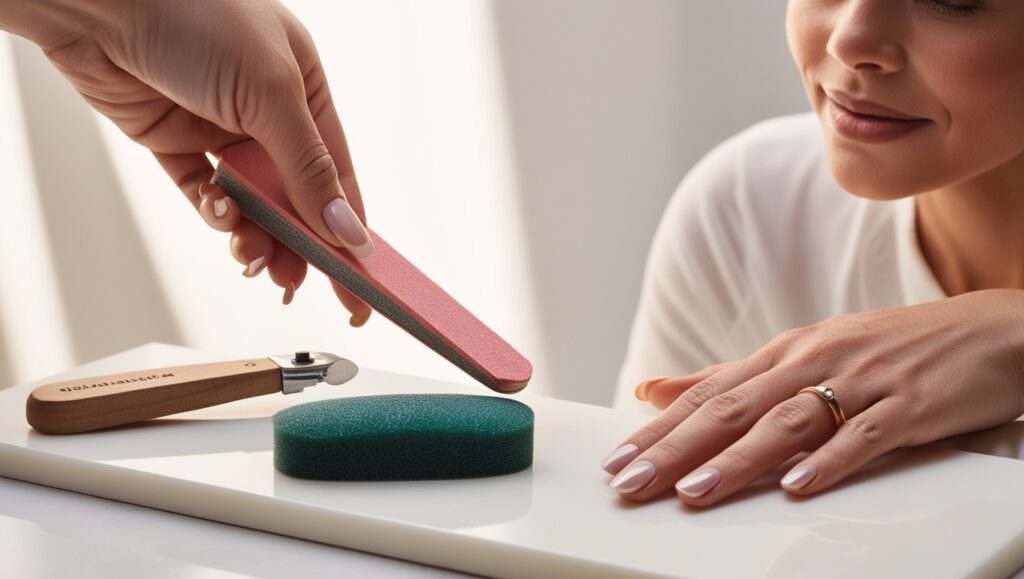
Once your acrylic nails are trimmed, grab a nail file and gently file the surface of the acrylic. You don’t need to go crazy here—just remove the shiny topcoat. This will allow the acetone to penetrate the acrylic more effectively, making the removal process faster.
Use a coarse nail file for this step because you want to roughen up the acrylic surface enough for the acetone to do its job. Buffing off the top layer is the secret to making the rest of the process easier.
Removing Acrylic Nails with Acetone
Using acetone is the most effective way to break down acrylic nails safely. It’s what professionals use in the salon, and you can easily replicate it at home. But here’s the trick—you’ve got to be patient with this method. Rushing it can damage your natural nails.
1. Soak in Acetone
Start by pouring pure acetone into a bowl. Make sure you use 100% acetone for the best results—normal nail polish remover just won’t cut it.
- Soak your nails in the acetone for 15-20 minutes.
- If soaking directly in acetone isn’t your style, you can use the foil wrapping method. For this, soak cotton pads in acetone, place them on your nails, and wrap each finger with aluminium foil.
The acetone works to break down the acrylics, softening them so they can be easily removed. During this step, sit back and relax—don’t try to rush it by scraping your nails halfway through.
2. Check for Softness and Gently Remove
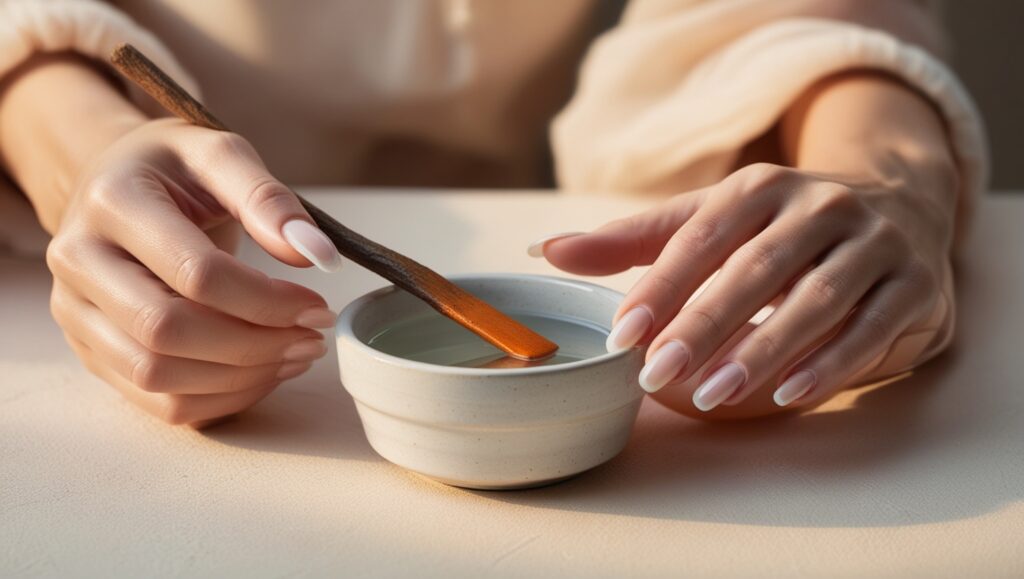
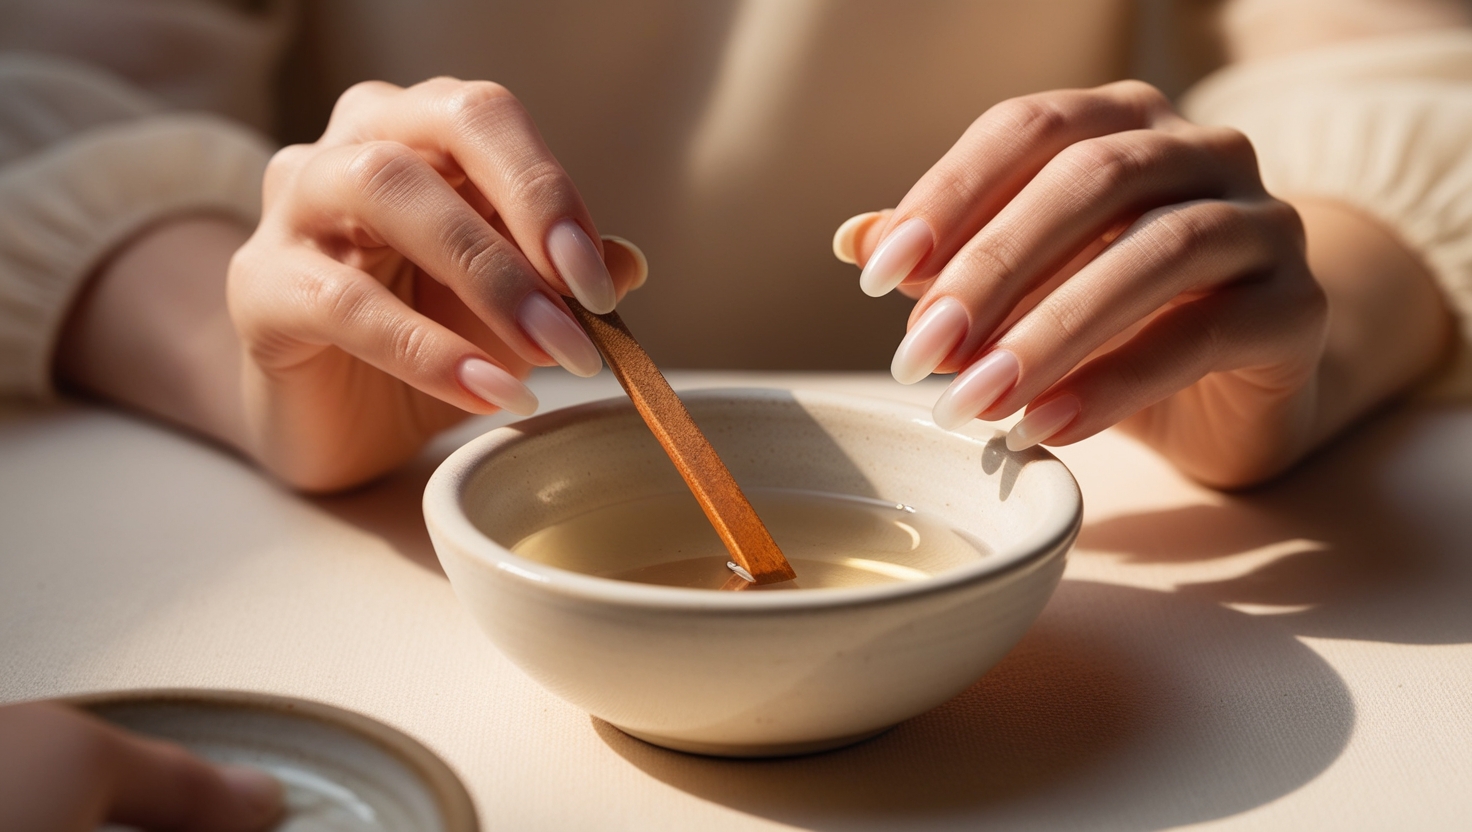
After about 20 minutes, check your nails. The acrylic should be soft enough to come off. Use an orange stick or cuticle pusher to gently push off the acrylic. If it’s not coming off easily, don’t force it—soak your nails for another 5 minutes.
The key here is gentle removal. You don’t want to peel or pry the acrylic off, as this can tear or damage your natural nails underneath.

Alternative Methods to Remove Acrylic Nails Without Acetone
Not a fan of using acetone? No problem. You can remove acrylic nails without acetone by using a filing method or opting for acetone alternatives. These methods take a little more time but are effective when done correctly.
1. Filing Off Acrylics
If you’re patient and want to avoid chemicals like acetone, filing is a safe option.
Here’s how to file off acrylics:
- Start with a coarse nail file and file down the acrylic layer by layer. This takes time, so don’t rush it.
- Once you’ve filed down the bulk of the acrylic, switch to a finer nail file to smooth out the remaining acrylic.
- Keep filing gently until you’re left with just your natural nail.
This method is super gentle on your nails but requires patience. It’s perfect if you don’t want to use acetone.
2. Acetone Alternatives
While acetone is the fastest option, there are a few alternatives that can get the job done, although they take longer.
Some people swear by using acetone-free nail polish removers or even a mixture of warm water, dish soap, and salt. While these methods are slower and less effective than acetone, they’re less harsh on your skin and nails.
If you go this route, remember to be patient. These alternatives work, but they take time to soften the acrylic for removal.
Post-Acrylic Nail Care: Restoring Your Natural Nails
Now that your acrylic nails are off, the next step is all about nail recovery. Acrylic nails can leave your natural nails feeling weak, dry, and thin. This post-removal care is crucial if you want to keep your nails healthy.
1. Moisturise and Hydrate Your Nails
One of the biggest challenges after removing acrylics is dryness. The acetone (or even the filing process) can leave your nails feeling dry and brittle.
Moisturise your nails and cuticles by applying cuticle oil or a nourishing hand cream. Massage the oil into your nail beds and cuticles to restore moisture and promote healthy nail growth.
2. Use a Nail Strengthener
After weeks of acrylics, your natural nails might feel a little weak. Apply a nail strengthener every few days to give your nails some much-needed support. This helps rebuild your nails’ strength and prevents breakage as they grow back.
3. Give Your Nails a Break
Your natural nails need time to breathe and recover. Avoid immediately reapplying acrylics or using harsh products like gel polish. Instead, give your nails a break for at least one to two weeks. Let them grow and strengthen naturally.
Protecting Your Natural Nails from Future Damage
Now that you know how to remove acrylic nails without damage, let’s talk about prevention. The next time you get acrylics, keep these tips in mind to protect your natural nails:
1. Don’t Pick or Rip Off Your Acrylics
When you’re ready to remove your acrylics, don’t ever rip them off. Picking or tearing off acrylics can damage the surface of your natural nails and cause peeling or thinning.
Always follow the soak-off method or file them down gently.
2. Keep Your Nails Hydrated
One of the best things you can do for your nails—whether they’re natural or under acrylics—is to keep them hydrated. Regularly apply cuticle oil and hand cream to prevent dryness and promote healthy nail growth.
3. Avoid Over-filing Your Natural Nails
When prepping for acrylics or during the removal process, don’t over-file your natural nails. This can make them weak and prone to breaking. Always file gently and focus on shaping the surface without thinning out your nails too much.
How to Remove Acrylic Nails Without Damage: Aftercare and Recovery
So, you’ve managed to get through the first part of how to remove acrylic nails without damage, but what comes next? Your nails might be feeling a little fragile, and you’re probably wondering how to keep them strong and healthy after removing the acrylics. This is where nail recovery becomes crucial, and I’m going to walk you through every step.
Let’s dive into post-removal care, from nourishing your nails to strengthening them for the long haul.
Moisturising Your Nails and Cuticles After Acrylic Removal
The first thing you’ll notice after removing your acrylic nails is dryness. This happens because acetone can be harsh on your skin, cuticles, and nail beds, stripping them of moisture. Don’t panic—hydrating your nails and cuticles is easy and essential.
1. Apply Cuticle Oil Daily
Cuticle oil is your best friend at this stage. If you’ve just finished soaking off your acrylics, your cuticles will be crying out for hydration. Use a dropper or a small brush to apply cuticle oil directly to your nail beds and massage it in.
Why it’s important:
- Hydrates and repairs the delicate skin around your nails.
- Promotes nail growth by stimulating blood flow to the nail bed.
Make it a habit to use cuticle oil at least twice a day for a few weeks after removing your acrylics.
2. Hand Cream for Added Moisture
Your nails aren’t the only things feeling dry after removal—your hands will likely feel the same. This is where a rich, nourishing hand cream comes in. Slather on some hand cream, focusing on your nails and cuticles, and let it soak in.
Pro tip: Use a hand cream that contains shea butter or coconut oil for maximum moisture retention.
Strengthening Weak Nails After Acrylics
It’s normal for your natural nails to feel weaker after removing acrylic nails. The key now is to strengthen and protect them as they recover. Weak nails are more prone to breakage, but a few simple steps can rebuild their strength.
1. Use a Nail Strengthener
The first thing you need is a nail strengthener. You’ll find plenty of options at any beauty store, but look for ones that contain ingredients like biotin, calcium, or keratin. These formulas create a protective barrier over your nails, helping to fortify them and prevent splitting or cracking.
- Apply a thin coat of nail strengthener every few days.
- For best results, continue using it even after your nails feel stronger.
2. Keep Your Nails Short While They Recover
When your nails are weak, the best thing you can do is keep them short. Longer nails are more prone to breakage, especially if they’re already feeling thin or brittle. Use a nail clipper to trim your nails and a gentle nail file to shape them.
Tip: File in one direction to avoid further weakening your nails.
Protecting Your Nails from Future Damage
Once you’ve gone through the process of removing acrylic nails without damage, the last thing you want is to damage them again. Preventing future issues is all about creating a healthy nail routine. Here’s how to keep your nails in tip-top shape moving forward.
1. Avoid Reapplying Acrylics Immediately
I get it—you love the look of acrylic nails, but your natural nails need time to recover. Give them at least two weeks of breathing room before you think about applying a new set of acrylics or any kind of extensions.
Let your nails grow and strengthen naturally before applying any new products. This gives your nail beds time to heal and ensures your next set of acrylics will last longer.
2. Wear Gloves for Protection
One of the easiest ways to protect your nails post-acrylic is by wearing gloves when doing chores. Whether you’re washing dishes, scrubbing surfaces, or gardening, your nails are vulnerable to damage from water and chemicals.
Pro tip: Rubber gloves are a lifesaver when it comes to preventing further damage to your nails after removal.
Filing and Buffing for Smoother Nails
After acrylics, your natural nails might feel a little rough or uneven. Buffing and filing can smooth them out, but you’ve got to be careful. The goal here is to smooth the surface without thinning out the nail.
1. Gently Buff the Nail Surface
Grab a nail buffer—not a coarse file, but a soft, spongy buffer. Gently rub it over the surface of each nail to smooth out ridges and any rough spots left behind from the acrylics.
- Don’t over-buff. You’re not trying to remove layers of your nail; you just want to even out the surface.
- Buffing once a week is more than enough.
2. Shape Your Nails with a Fine File
Use a fine-grit nail file to shape your nails, rounding the edges slightly to prevent snags. Always file in one direction to avoid weakening the nail.
Tip: Avoid metal nail files—they’re too harsh. Stick to a soft emery board or glass file.

Avoid Harsh Chemicals and Nail Polish Removers
Your nails are still fragile after removing acrylics, so now is not the time to use harsh chemicals or acetone-based nail polish removers. These can dry out your nails further and slow the recovery process.
1. Switch to Acetone-Free Removers
If you’re applying nail polish during your recovery phase, use an acetone-free nail polish remover. It’s gentler on your nails and won’t strip away moisture.
- Acetone-free removers are especially important if you plan on doing multiple manicures while your nails recover.
2. Avoid Nail Hardeners with Formaldehyde
Some nail hardeners contain formaldehyde, which can actually make weak nails worse in the long run. It can cause your nails to become brittle and more prone to breakage. Stick to formaldehyde-free products that use natural ingredients to strengthen your nails.
Let Your Nails Breathe Between Manicures
While it’s tempting to keep your nails painted all the time, sometimes your nails just need a break. Letting them breathe between manicures is key to restoring their natural strength.
1. Take a Polish Break
Give your nails at least a week off from nail polish to let them recover naturally. This gives your nails time to absorb the cuticle oil and other nutrients you’ve been applying without any layers of polish blocking them.
2. Hydrate, Hydrate, Hydrate
During this break, keep applying cuticle oil and hand cream daily. The more you hydrate your nails, the quicker they’ll regain their strength and flexibility.
Pro tip: Drinking plenty of water also helps your nails stay hydrated from the inside out.
Now you know everything about how to remove acrylic nails without damage and what steps to take after removal to keep your nails strong and healthy. With the right care, you’ll have natural nails that look and feel great, ready for your next set of acrylics—or even better, ready to go without them!
