How to Do Nail Art at Home for Beginners: Step-by-Step Guide
Ever stared at those perfectly designed nails and thought, “How do they do that?” You’re not alone. Nail art can feel intimidating, especially if you’ve never tried it before. But here’s the truth—nail art at home doesn’t need to be complicated, and you don’t need to be a pro to get started.
In this guide, I’ll walk you through everything you need to know to do nail art at home, even if you’re a complete beginner. From prepping your nails to using simple designs and tools, I’ll show you how to create fun, easy, and beautiful nail art right from your living room. Trust me, once you get the hang of it, you’ll wonder why you didn’t try it sooner.
Prepping Your Nails for Nail Art
Before you even think about picking up a nail polish bottle or a dotting tool, you need to start with the basics—nail prep. The key to great nail art starts with a clean, smooth canvas. Let’s break this down step-by-step.
1. Clean, File, and Buff Your Nails
First, make sure your nails are clean and free from any leftover polish or oils. Oils can prevent the nail polish from sticking properly, so wipe your nails down with a bit of nail polish remover, even if they’re already bare.
Next, file your nails to the shape you like—whether that’s square, round, or almond. It’s easier to work on nails that are even and smooth, so don’t skip this step.
Finally, grab a nail buffer and gently buff the surface of your nails. Buffing helps smooth out any ridges or rough spots, which makes your nail polish go on evenly.
2. Apply a Base Coat
Never skip the base coat! A base coat protects your nails from staining and creates a smooth foundation for your design. Plus, it helps the polish last longer. Apply a thin layer of base coat to each nail and let it dry before moving on to the fun stuff.
Essential Nail Art Tools for Beginners
Now that your nails are prepped and ready, let’s talk about the tools you’ll need to create nail art at home. You don’t need a professional kit to get started—most of these tools are affordable and beginner-friendly.
1. Dotting Tools
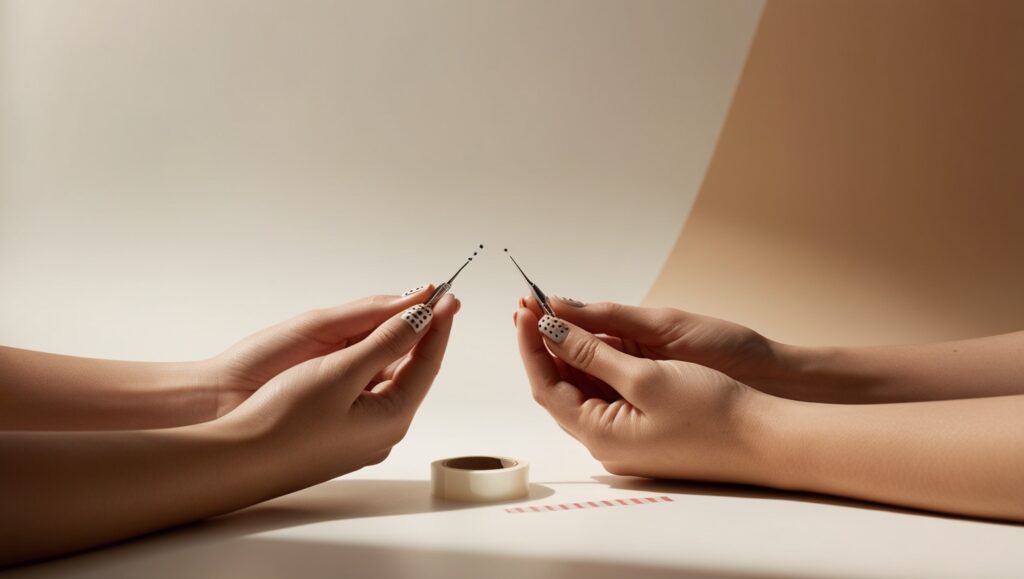
Dotting tools are your new best friend. These little tools come in different sizes and are perfect for creating simple designs like polka dots or even flowers. If you don’t have a dotting tool, no worries—a bobby pin or toothpick works just as well for beginners.
2. Striping Tape
Want to add stripes or geometric designs to your nails? Striping tape is your go-to. It’s thin, easy to apply, and perfect for creating crisp, clean lines.
3. Thin Brushes
For freehand designs like stripes or curves, a thin nail brush will give you more control. These brushes let you add finer details to your design, whether it’s a swirl, a zigzag, or something more creative.
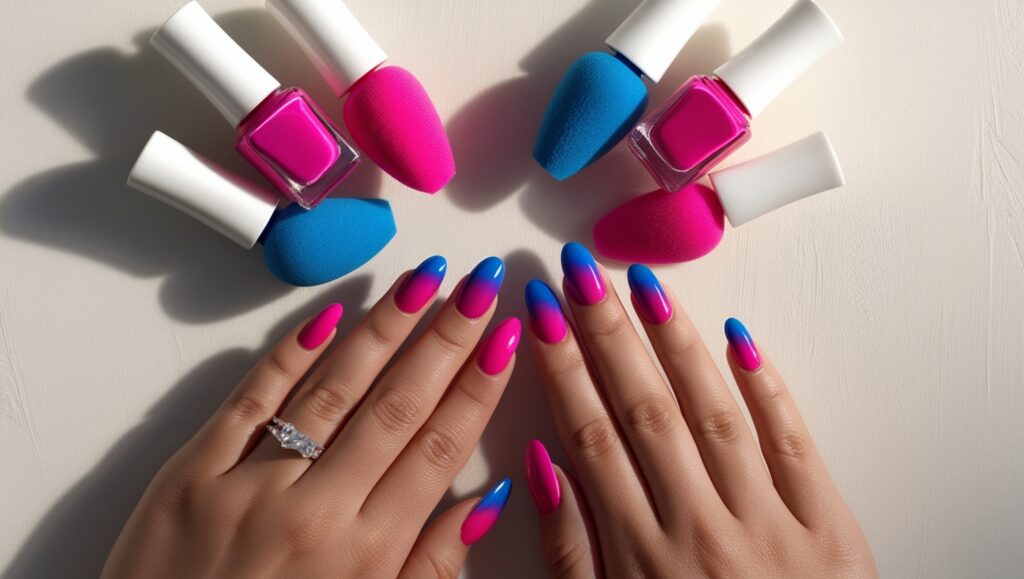
4. Nail Sponges
If you’re feeling adventurous and want to try something like a gradient or ombre effect, a nail sponge will help you blend colours seamlessly.

Easy Nail Art Designs You Can Do at Home
Let’s dive into the part you’ve been waiting for—nail art designs. You don’t have to go all out right away. These simple designs are easy enough for beginners but look impressive once you’ve finished.
1. Polka Dots: The Easiest Design Ever
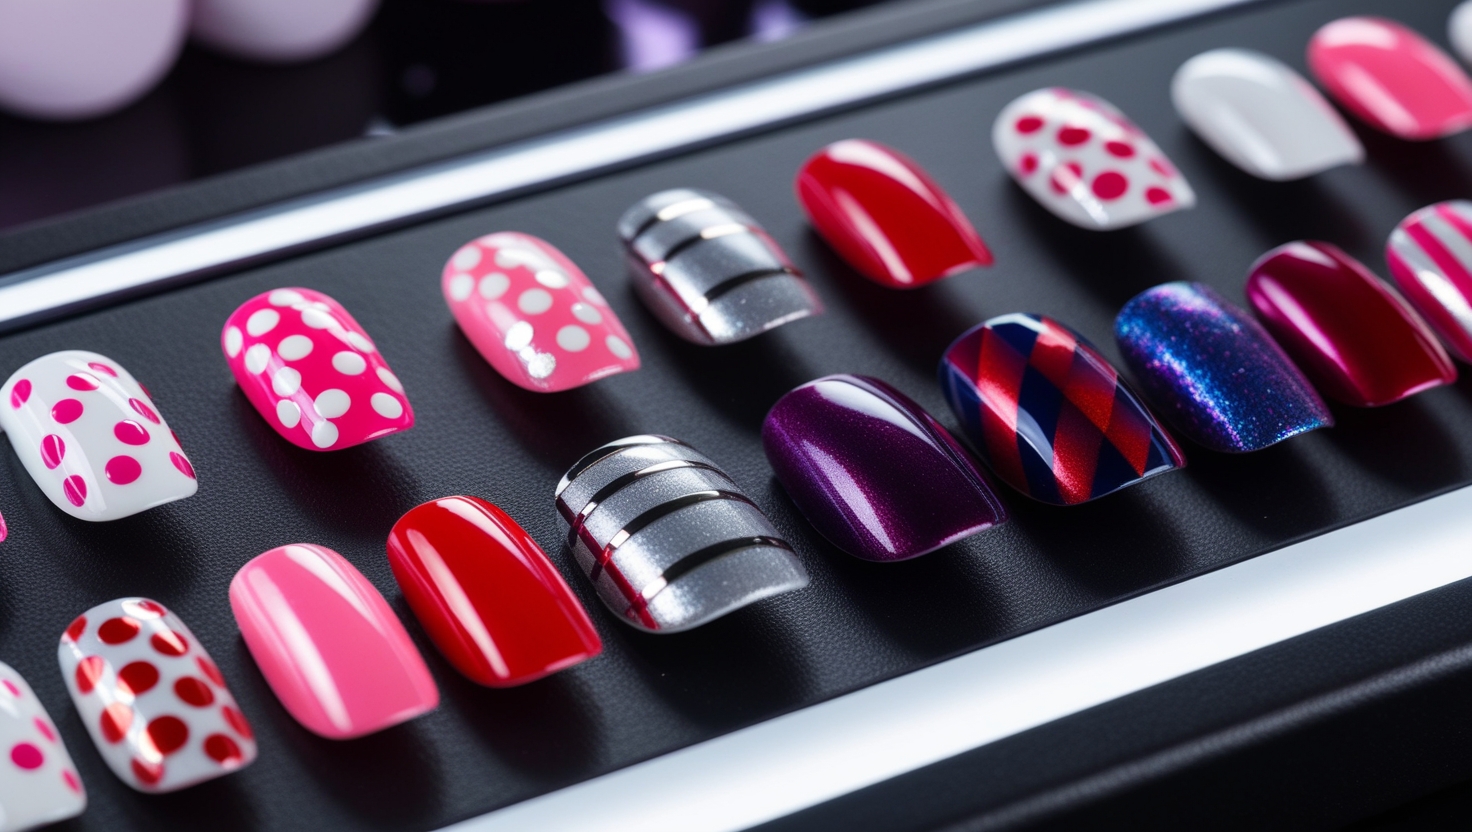
Polka dots are hands-down the simplest design to start with. Using your dotting tool or a bobby pin, dip it into the nail polish and dot it onto your nail. You can go for a classic look with white dots on a red base or mix it up with multiple colours.
How to do it:
- Paint your nails with your base colour and let it dry.
- Dip the end of the dotting tool (or bobby pin) into another colour and place dots evenly across each nail.
- Let it dry and finish with a top coat.
2. Stripes: Clean and Simple
Stripes look clean, sharp, and are surprisingly easy to do with striping tape. You can go for vertical, horizontal, or even diagonal stripes.
Steps:
- Paint your nails with the base colour and let it dry.
- Apply striping tape in the pattern you want.
- Paint over the tape with another colour.
- Remove the tape carefully while the polish is still wet.
3. Accent Nail: Keep It Simple with a Twist
If doing every nail feels like too much work, start with an accent nail. This means you paint one nail (usually the ring finger) with a different design or colour while keeping the rest simple.
Example:
- Paint all your nails with a solid colour.
- On your accent nail, add glitter, a sticker, or even some dots for a little pop.
4. Simple Floral Patterns
Don’t worry—floral patterns are much easier than they look. Using your dotting tool, create small dots that form a flower. You can make this as simple or detailed as you like, depending on your confidence level.
Steps:
- Start with a base colour and let it dry.
- Use a dotting tool to create 5 small dots in a circle to form the petals.
- Add a small dot in the centre of the flower for the finishing touch.
Step-by-Step Nail Art Tutorial for Beginners
Let’s break down a basic nail art design step-by-step. I’ll walk you through how to create a simple polka dot pattern, which is the perfect place to start for beginners.
1. Apply Your Base Coat and Base Colour
Start by applying a thin layer of your base coat to protect your nails. Once that dries, apply your base colour. Let it dry completely before moving to the next step. (Patience is key!)
2. Create the Polka Dots
Dip your dotting tool into your second colour of nail polish. For beginners, it’s best to go with a small to medium-sized dotting tool. Gently place dots across the nail, spacing them evenly. If you’re feeling confident, try alternating the size of the dots for a fun effect.
3. Let It Dry
Allow the dots to dry for a few minutes before moving on. You don’t want to smudge your work!
4. Apply a Top Coat
Once everything is dry, apply a layer of top coat to seal in your design and add shine. This will also help protect your nails from chipping.
Finishing Touches and Aftercare
You’ve nailed the design (pun intended), but don’t stop there. Proper aftercare ensures that your beautiful work lasts longer and looks professional.
1. Apply a Top Coat
A top coat is essential for sealing in your design and giving your nails that glossy, finished look. It also protects your design from smudging and chipping.
2. Clean Up the Edges
If you’ve gone outside the lines a bit, that’s totally fine. Use a small brush dipped in nail polish remover to clean up around the edges for a polished, salon-quality finish.
3. Let It Dry Completely
It’s tempting to start using your hands right away, but don’t rush it! Let your nails dry completely before doing anything that could smudge them.
Pro tip: If you’re in a hurry, dip your nails into a bowl of cold water for a few minutes. It helps the polish set faster.
There you have it—a complete guide on how to do nail art at home for beginners. Start with the basics, have fun with it, and don’t be afraid to experiment. With a little practice, you’ll be able to create nail art designs that look like you just stepped out of a salon, all from the comfort of your home.
How to Do Nail Art at Home for Beginners: Taking It to the Next Level
So, you’ve mastered the basics and you’re ready to push your nail art game further. Whether you’ve already created those perfect polka dots or played with a simple accent nail, there’s a whole world of creative nail art waiting for you. And the best part? You don’t need to be a pro or own a full kit to get impressive results.
In this part of the guide, I’ll show you how to elevate your nail art at home for beginners. You’ll learn more advanced designs, how to fix common mistakes, and some essential tips to keep your nails looking fresh and polished.
Advanced Nail Art Designs for Beginners
You’ve nailed the basic designs like polka dots and stripes—now it’s time to move up a level. Don’t worry, these advanced designs are still beginner-friendly, but they’ll make your nails look like they belong on a Pinterest board.
1. Chevron Patterns: Bold and Stylish
Chevron patterns look tricky, but with some striping tape, they’re surprisingly easy to achieve. It’s all about creating that zigzag look that’s super trendy and clean.
How to do it:
- Paint your nails with a base colour and let them dry completely.
- Apply the striping tape in a zigzag pattern across your nails.
- Paint over the tape with a contrasting colour.
- Remove the tape while the polish is still wet for clean lines.
Pro tip: Chevron nails look amazing in metallic shades or bold contrasts like black and white.
2. Ombré Nails: The Gradual Colour Shift
Ombré nails give you that smooth gradient look, shifting from one colour to another. You can achieve this at home using a nail sponge and a couple of polishes that blend well together.
Steps:
- Apply a base coat and let it dry.
- On a nail sponge, apply two colours of polish next to each other.
- Lightly press the sponge onto your nail to transfer the colours in a gradient pattern.
- Repeat for each nail and seal with a top coat.
This technique works well with bright colours for a summer look or soft pastels for something more subtle.
3. Freehand Floral Designs: Get Creative
Once you’re comfortable with basic dots, try turning them into simple floral designs. You can create small flowers using a dotting tool or a toothpick.
How to make flowers:
- Start with a base colour.
- Use your dotting tool to create five dots in a circle to form the petals.
- Add a contrasting dot in the centre to complete the flower.
- Once dry, apply a top coat to lock in your design.
Fixing Common Nail Art Mistakes
No one’s perfect, especially when you’re new to nail art at home. Messed up lines, smudged polish, or uneven dots—these are all common issues, but they’re easy to fix.
1. Smudged Designs: How to Recover
Smudges happen, especially if you’re rushing or your nails haven’t dried properly. The key is to fix it without ruining your entire design.
Quick fix:
- Dip a small brush in nail polish remover and carefully smooth out the smudged area.
- Let it dry and reapply a small amount of polish to touch up the design.
- Use a quick-dry top coat to prevent further smudging.
2. Uneven Lines or Dots
If your stripes or dots didn’t come out as even as you wanted, don’t stress.
What to do:
- Use a thin nail brush dipped in the base colour to go over the uneven areas and sharpen them up.
- Let it dry, then reapply your top coat.
Fixing little mistakes like these will make your nail art look much more polished without having to start over.
Finishing Touches for a Long-Lasting Manicure
Nail art is fun, but nothing’s more frustrating than putting in all that effort only for your design to chip or fade within days. Let’s make sure your nail art at home stays fresh for as long as possible.
1. Reapply Top Coat Regularly
Your top coat is your design’s shield, and it needs to be maintained. Reapply your top coat every 2-3 days to keep your nails looking glossy and protected from chips.
Pro tip:
- Use a gel top coat for extra shine and durability. If you have a UV lamp, curing the gel top coat can make your design last even longer.
2. Protect Your Nails from Water
Excessive exposure to water weakens your polish and shortens the life of your design. Whether you’re doing dishes or washing your hair, water takes a toll on your nails.
Solution:
- Wear rubber gloves when cleaning or doing dishes.
- Avoid soaking your nails in hot water for extended periods, especially right after doing your nails.
3. Use Nail Oil to Keep Nails Hydrated
Healthy, hydrated nails are less likely to chip or break, which means your nail art will last longer. Apply cuticle oil regularly to keep your nails flexible and strong.
How to apply:
- Massage a drop of jojoba oil or any cuticle oil into your nails and cuticles every night.
- This helps the polish stay in place and prevents cracking.

Adding Your Own Twist: Personalising Your Nail Art
Once you’ve mastered the basics and the more advanced designs, it’s time to add your personal twist to your nail art at home. Experiment with colours, shapes, and textures to create designs that reflect your style.
1. Mix and Match Patterns
Don’t be afraid to combine different patterns like stripes, dots, and floral designs. You could have a floral design on one nail, stripes on another, and a solid colour on the rest.
Ideas:
- Try a bold chevron pattern on one nail and simple dots on the others.
- Use metallic polish for one accent nail while keeping the rest neutral.
2. Add a Little Sparkle with Glitter Polish
If you want to give your nails an extra edge, add a touch of glitter polish to your designs. Whether you’re applying glitter all over or just to the tips, it gives your nails that fun, eye-catching pop.
Easy glitter hack:
- Apply a clear base coat, then use a makeup sponge to dab on glitter polish.
- The sponge absorbs some of the polish, leaving just the glitter on your nail for a more concentrated sparkle.
Now that you know how to do nail art at home for beginners, you can get creative with your designs and start exploring new techniques. Whether it’s chevron stripes, ombré nails, or just perfecting your polka dots, the sky’s the limit. Keep experimenting, have fun with it, and soon you’ll be creating nail art that looks like it came straight from the salon—all from the comfort of home.
