So, you’re wondering, “How long to do nail art designs at home?” Whether you’re just getting started with DIY nails or you’ve been practicing your designs for a while, timing matters. Maybe you’re trying to squeeze a quick nail session into a busy schedule, or you’re planning to spend some serious time perfecting a more intricate design.
Let’s break down how long it actually takes, based on the type of nail art you’re aiming for.
Time for Basic Nail Art Designs
If you’re new to nail art or just looking for something quick, simple designs are the way to go. But just because they’re basic doesn’t mean they aren’t beautiful. These designs are great when you’re short on time but still want to add a bit of flair to your nails.
1. Simple Dot and Stripe Designs
Polka dots and stripes are the easiest designs to master. You only need a steady hand, a dotting tool (or even a bobby pin), and some nail polish.
- Time estimate: 20-30 minutes, including drying time.
- What you’ll need: A dotting tool, nail polish, base coat, and top coat.
- Pro tip: Use contrasting colours for the base coat and dots or stripes to make the design pop.
If you’re short on time, designs like these are ideal. They’re quick to do, and you don’t need a bunch of fancy tools. Plus, they work with regular polish, meaning no UV lamp is required.
2. Nail Stickers for Quick Designs
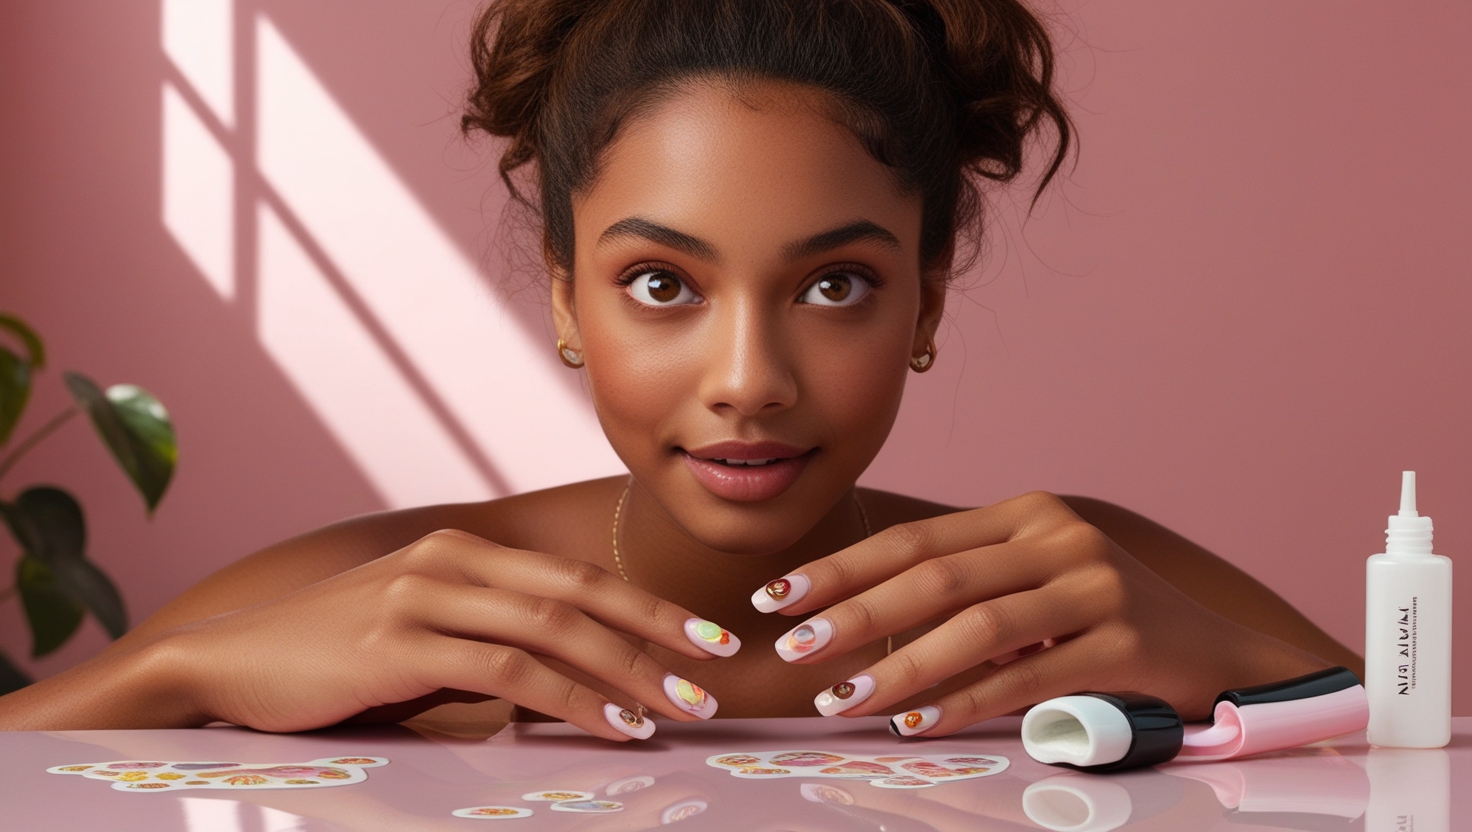
Nail stickers are perfect if you’re in a rush and want your nails to look detailed without the effort. They’re easy to apply and can look like a professional design with minimal work.
- Time estimate: 15-20 minutes.
- What you’ll need: Nail stickers, base coat, top coat, and tweezers for precise placement.
Stickers save you a ton of time, especially if freehand designs feel too challenging. Stick them on, seal with a top coat, and you’re done.
Time for Intermediate Nail Art Designs
If you’re ready to step things up, intermediate designs like nail stamping or more detailed freehand art are a good challenge. These designs require a bit more time and skill but are still doable at home with the right tools.
1. Nail Stamping
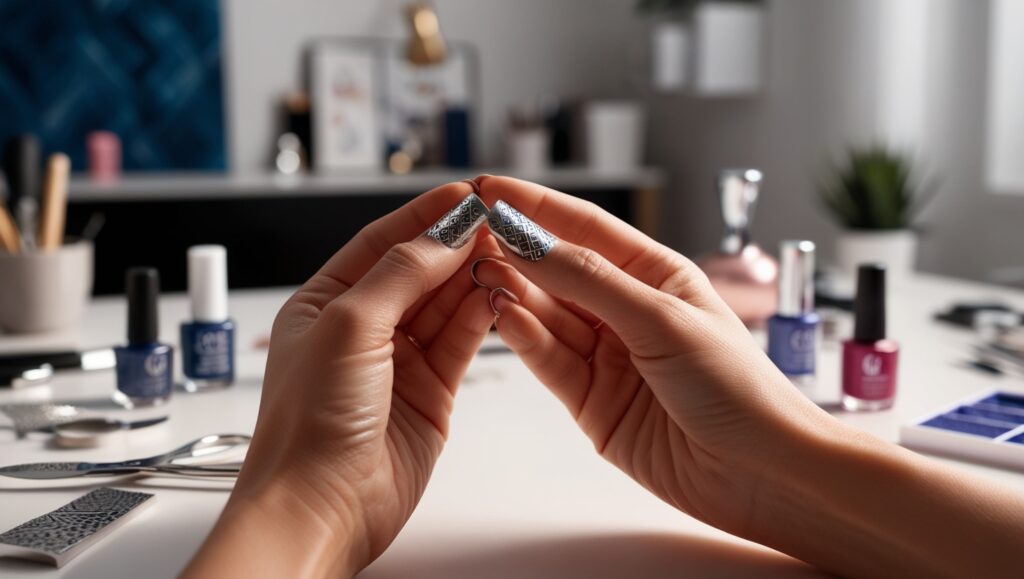
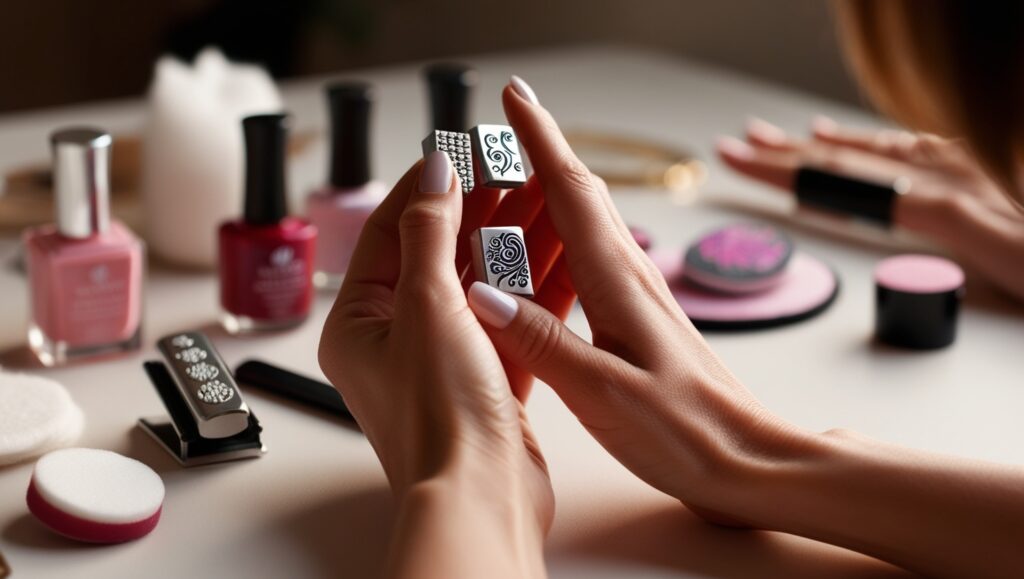
Nail stamping kits allow you to transfer intricate designs to your nails with ease. You get detailed designs without needing to be an artist, but it takes a little practice to get the hang of it.
- Time estimate: 40-50 minutes, depending on the complexity of the design.
- What you’ll need: Nail stamping kit, nail polish, scraper, and stamper.
Nail stamping saves time compared to freehand detailed work, but you need to be patient when positioning the stamp. The extra effort is worth it for designs like lace patterns or intricate florals.
2. Freehand Nail Art with Brushes
If you enjoy creating your designs from scratch, freehand nail art with brushes lets you take full control. Whether it’s stripes, geometric shapes, or abstract designs, freehand art allows you to experiment.
- Time estimate: 50-60 minutes, factoring in drying time between layers.
- What you’ll need: Nail art brushes, fine detail brush, multiple nail polish colours, and a steady hand.
The downside? Freehand nail art takes more time and practice. But if you’re into getting creative, this is where you can let your ideas run wild.

Time for Complex Nail Art Designs
Ready to spend more time on a show-stopping look? Complex nail art, like 3D designs, ombre effects, or gel polish layers, will take significantly longer. These designs require patience, multiple steps, and often extra tools.
1. 3D Nail Art
Creating 3D designs involves adding elements like gems, rhinestones, or acrylic pieces onto your nails. The time it takes depends on how detailed and elaborate you want to go.
- Time estimate: 1-2 hours, depending on the number of embellishments and layers.
- What you’ll need: Rhinestones, glue, tweezers, gel polish, UV lamp, and top coat.
These designs take time not only because of the intricate details but also because of the curing process. Gel nails require multiple layers to set under the UV lamp, so factor in that drying time.
2. Ombre Nails or Gradient Effects
Ombre nails or gradient nail art looks stunning but requires patience and the right technique. You’ll need a sponge to blend colours seamlessly.
- Time estimate: 1 hour, including multiple layers and drying time.
- What you’ll need: Sponge, several nail polish colours, base coat, top coat, and nail polish remover for clean-up.
While this design doesn’t require intricate tools, getting the gradient to blend smoothly can take some time, especially if you’re working with gel polish and need to cure layers in between.
Tips to Save Time While Doing Nail Art at Home
If you’re pressed for time but still want great results, there are ways to speed up the nail art process without sacrificing quality.
1. Prep Your Nails in Advance
Preparation is key to cutting down the overall time it takes to do nail art designs at home.
- Make sure your nails are filed, buffed, and ready to go before you start.
- Set up your tools in advance so you’re not wasting time searching for supplies mid-way through.
2. Use Fast-Drying Top Coats
One of the biggest time-eaters in nail art is waiting for the polish to dry. You can skip long drying times by using fast-drying top coats or UV lamps if you’re working with gel polish.
- Gel polish with a UV lamp will significantly reduce drying time compared to regular polish.
- A quick-dry top coat also helps set your design and protect it from smudging.
3. Go for Pre-Made Designs
When you’re short on time, you can always opt for nail wraps or pre-designed nail stickers. These take almost no time at all to apply and can look just as polished as something you spent an hour on.
- Nail wraps are a quick fix that give you a professional look in under 20 minutes.
- Some nail stickers come in detailed designs that would otherwise take hours to paint.
3. Common Nail Art Time-Saving Hacks
We’ve all been there—midway through a manicure, realising we’ve already spent too much time on it. Time-saving doesn’t mean compromising quality, though. Here’s how to keep your nail art designs looking sharp without wasting hours.
1. Invest in a Good UV/LED Lamp
One of the biggest time-sinks in any nail design process is the drying time. If you’re working with regular polish, you’re stuck waiting. But if you’re using gel polish, you can significantly cut down the drying time by using a quality UV or LED lamp.
- Gel polish cures in 30-60 seconds under a good UV lamp. Compare that to waiting 5-10 minutes for regular polish to dry.
- A quick-drying top coat also helps seal the deal faster if you’re using regular polish.
2. Stick with Simple Designs for Quick Results
If you’re in a rush, simple nail art designs like polka dots, stripes, or even a basic glitter accent nail can save you time without sacrificing the look. Minimalist designs are trendy and quick, and they only take around 20-30 minutes to pull off, including drying time.
- Use dotting tools or even a bobby pin to create polka dots in seconds.
- Go for nail stickers if you want detailed designs without the fuss. They give you professional-looking results in minutes.
3. Prep Your Nails Beforehand
One of the most underrated ways to save time during your nail art session is by prepping your nails ahead of time. Make sure your nails are shaped, cuticles are pushed back, and your tools are organised before you begin.
- File and buff your nails, apply a base coat, and let it dry fully. This ensures your design time goes smoothly without interruptions.
- Having all your tools ready—whether it’s brushes, stickers, or a UV lamp—can easily save you an extra 10-15 minutes of fumbling around.
4. Time for Advanced Nail Art Techniques
So, how long does it really take to create more advanced nail art designs at home? If you’re diving into detailed work like freehand designs or ombre effects, buckle up—it’s going to take some time. But if you love the process and enjoy experimenting with your nails, it’s worth every minute.
1. Freehand Nail Art Takes Patience
Freehand designs are the most creative option, but they also take the most time. You’re painting each element yourself, so the time it takes depends on the complexity of the design.
- Freehand floral designs, geometric patterns, or intricate shapes can take 45 minutes to 1.5 hours, depending on your experience level.
- To speed things up, focus on one accent nail instead of painting all your nails with detailed designs. This saves time while still giving you a unique look.
2. Ombre and Gradient Designs Require Layers
Creating a smooth ombre effect on your nails is all about layering, blending, and patience. The process involves sponging different colours onto the nail and blending them together.
- Time estimate: Around 1 hour. This includes drying time between layers and clean-up after applying the gradient.
- Pro tip: Use a latex barrier around your nails for easy clean-up after sponging the colours. This saves you time and effort on wiping away excess polish.
3. 3D Nail Art: Worth the Time for a Statement Look
Want to go all out with 3D designs like rhinestones, studs, or even small gems? Be prepared to spend some extra time on it. This style takes a while to apply, but the final result is a total showstopper.
- Time estimate: 1-2 hours, depending on the amount of detail and embellishments.
- Make sure to use a strong nail glue and finish with a durable top coat to keep those gems in place for longer.
5. Avoid Common Mistakes That Cost You Time
It’s easy to lose track of time when something goes wrong, so let’s talk about a few common mistakes that can derail your quick nail art session—and how to avoid them.
1. Not Letting Layers Dry Properly
One of the worst things you can do when working on nail art designs at home is rushing through layers without letting them dry. This leads to smudging, and next thing you know, you’re redoing a whole nail.
- Pro tip: If you’re using regular polish, wait at least 5 minutes between each layer to avoid smudging. Using a fast-drying top coat will speed this up.
2. Applying Polish Too Thickly
Thick coats of polish take longer to dry and are more prone to smudging. Stick to thin layers, even if it means applying an extra coat to get the colour opacity you want.
- Time-saver tip: Thin layers dry faster and give you a smoother finish.
3. Using the Wrong Tools
If you’re using makeshift tools like toothpicks instead of proper nail brushes or dotting tools, it’s going to take longer to get the design right. Investing in the right tools upfront saves you time and frustration in the long run.

6. Nail Art Timing FAQs
1. How long does it take to do nail art designs at home?
The time varies depending on the complexity of the design. Simple designs can take 20-30 minutes, while more advanced looks like freehand or ombre nails can take up to 1-2 hours.
2. Can I speed up the nail art process without compromising on quality?
Yes! Use a UV lamp to cure gel polish faster, stick to simple designs when you’re short on time, and always prep your nails beforehand to streamline the process.
3. What’s the fastest way to do detailed nail art at home?
Using nail stamping kits or nail stickers gives you detailed designs without spending hours on freehand work. These tools can cut your time down to 30-40 minutes.
4. How long should I wait between layers when doing nail art?
If you’re using regular polish, wait around 5 minutes between coats. For gel polish, cure each layer under a UV lamp for 30-60 seconds for the best results.
5. What’s the best way to avoid smudging nail art designs?
The key is patience. Let each layer dry fully before applying the next. A quick-dry top coat or fast-drying spray can also help lock in your design and prevent smudging.
