How to Apply Nail Extensions at Home: A Step-by-Step Guide
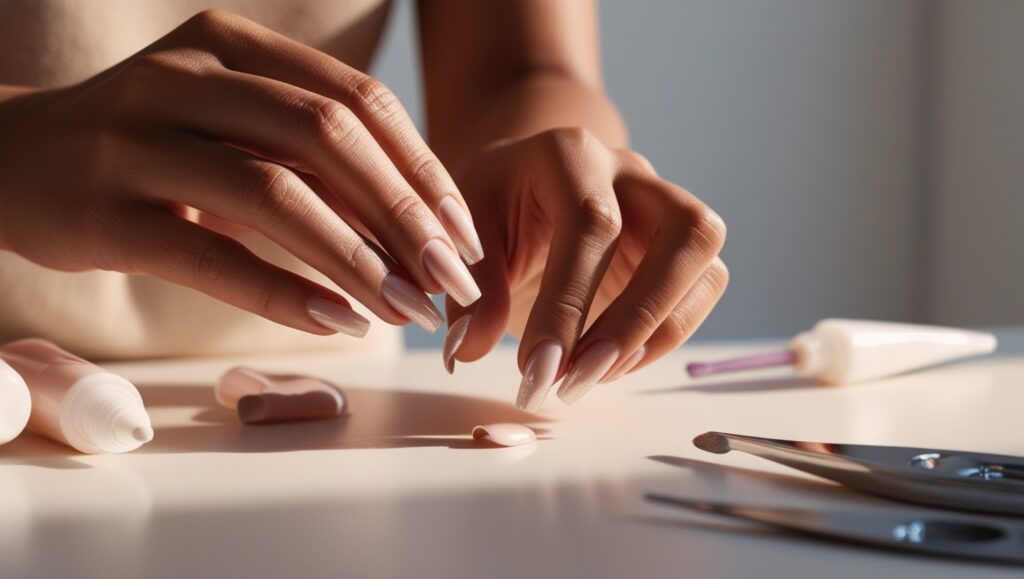
Do you ever dream of long, glamorous nails but don’t want to spend hours at the salon? We’ve all been there, scrolling through Instagram, admiring those flawless sets of nail extensions. But what if I told you that you can get the same salon-quality look at home? Yep, you heard me right. Learning how to apply nail extensions at home isn’t as complicated as it sounds, and I’m going to break it down step by step so you can do it yourself like a pro.
With the right tools, a little patience, and these straightforward instructions, you’ll be applying your own nail extensions with ease, and let’s be real—saving a ton of money in the process. Let’s get started.
Prepping Your Natural Nails for Extensions
Before we jump into gluing and shaping, you need to start with a good base. Prepping your natural nails is crucial because if your nails aren’t ready, those extensions won’t last as long as you want them to. The better you prep, the better your results.
1. Clean and Trim Your Nails
The first thing you need to do is clean up your natural nails. Remove any old nail polish using a gentle polish remover, and make sure your nails are dry and free from oils. Oils and moisture can mess with how well the extensions stick, so you want a clean slate.
Next, use nail clippers to trim your natural nails. You don’t want your nails too long under the extensions—just trim them to a neat, comfortable length.
2. Buff the Surface for Better Adhesion
Here’s a pro tip: buffing your nails is one of the most important steps. Grab a nail buffer and gently buff the surface of each nail. The goal here is to remove the shiny layer, giving your nails a slightly rough texture. This helps the nail glue adhere better and makes sure those extensions stay on longer.
3. Push Back Your Cuticles
You’ll also want to make sure your cuticles are pushed back. Use a cuticle pusher to gently push them away from your nail bed. This clears the area and prevents any gaps when you apply the extensions.
Remember: the cleaner the surface, the better your nail extensions will look and last.
Choosing the Right Type of Nail Extensions
When it comes to nail extensions, not all are created equal. There are a few types to choose from, depending on your preference and skill level. Whether you’re going for acrylic extensions, gel extensions, or even press-on nails, it’s important to know what works best for you.
1. Acrylic vs. Gel Extensions
Let’s start with the two most popular options: acrylic and gel extensions.
- Acrylic extensions are a classic option. They are durable and work well if you want a long-lasting set. However, they require some skill, especially when it comes to shaping and filing. If you’re just starting out, it might take a few tries to get it right.
- Gel extensions are a bit easier for beginners. They’re applied in layers and cured with a UV or LED lamp. Gel extensions feel lighter on the nails, but they still give that professional look.
Both are great, but if you’re new to this, gel extensions might be easier to handle at home.
2. Full-Cover Nails vs. Nail Tips
Now, you need to decide between full-cover nails or nail tips.
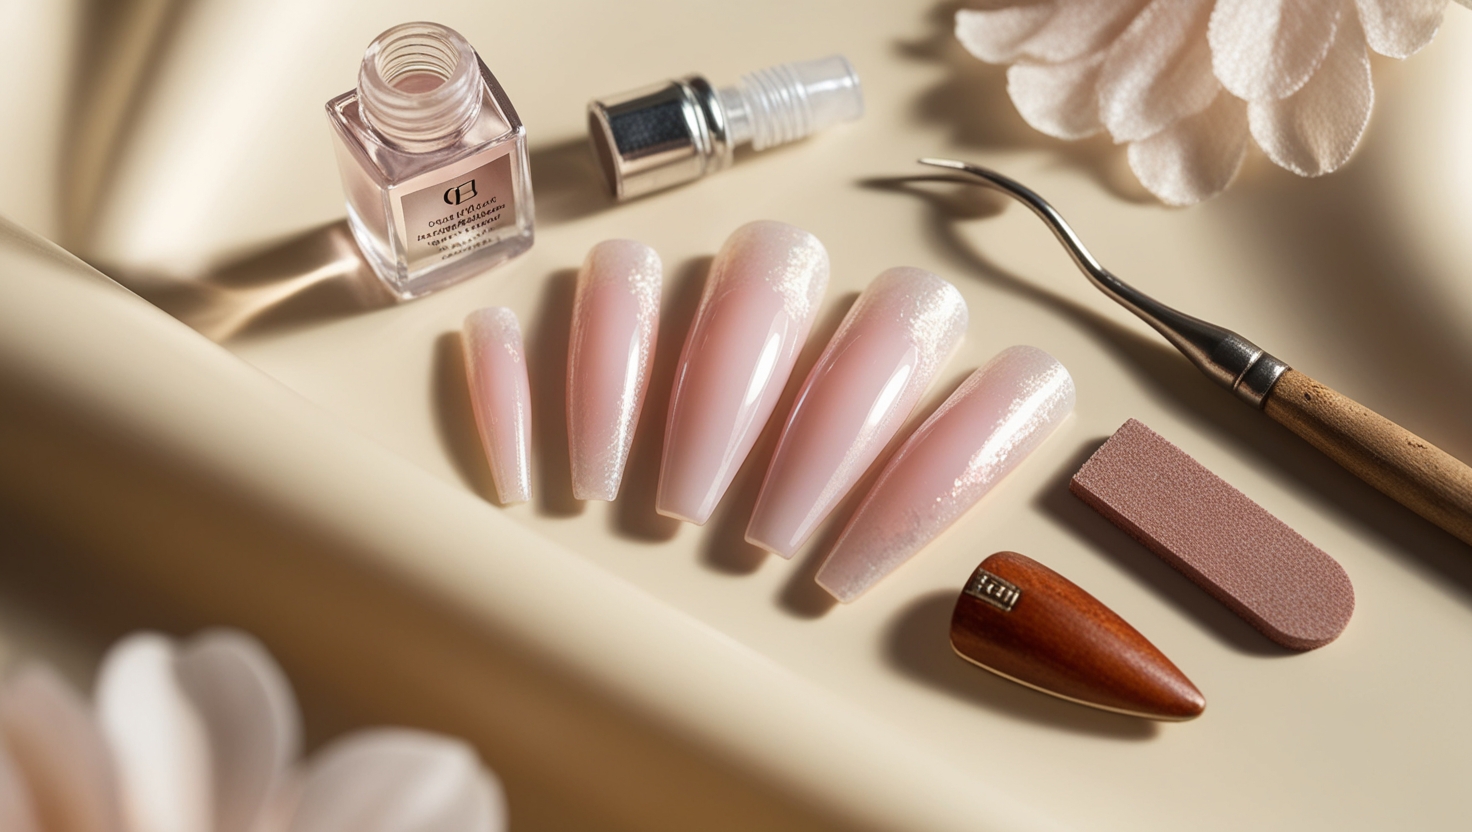
- Full-cover nails: These are pre-made nails that you simply glue over your entire natural nail. They come in various sizes and styles, so all you have to do is apply them, shape them if needed, and you’re done.
- Nail tips: With these, you apply the tips to the edge of your natural nail, then blend and shape them before applying acrylic or gel over the top. They’re great for customizing your length and shape.
If you’re looking for something fast and straightforward, full-cover nails are your best bet. If you want more control and a more customised look, go with nail tips.

Applying the Nail Extensions
Now that your nails are prepped and you’ve chosen your type of extensions, it’s time for the fun part: applying the nail extensions. Don’t worry, this part isn’t as intimidating as it sounds. Follow these steps, and you’ll have flawless extensions in no time.
1. Applying Nail Glue
Start by selecting the right size nail extension for each finger. If you’re using nail tips, make sure the tip fits perfectly on your natural nail. Too big, and it won’t sit right; too small, and it’ll lift easily.
- Apply a small amount of nail glue to the back of the extension or tip. Don’t overdo it—you only need a little to create a strong bond.
- Press the extension onto your nail and hold it in place for 10-15 seconds. Make sure it’s straight and positioned how you want it. Trust me, those few seconds of holding make all the difference in how long your extensions last.
2. Shaping and Filing the Extensions
Once the extensions are secured, it’s time to shape them. This is where you get to customise your look—whether you’re going for a square, oval, or almond shape.
- Use a nail file to shape the extensions to your desired length and style. Be patient here—this step really defines the final look of your nails.
- Gently file the surface of the extension to smooth it out and blend it with your natural nail, especially if you used nail tips.
3. Curing Gel Extensions
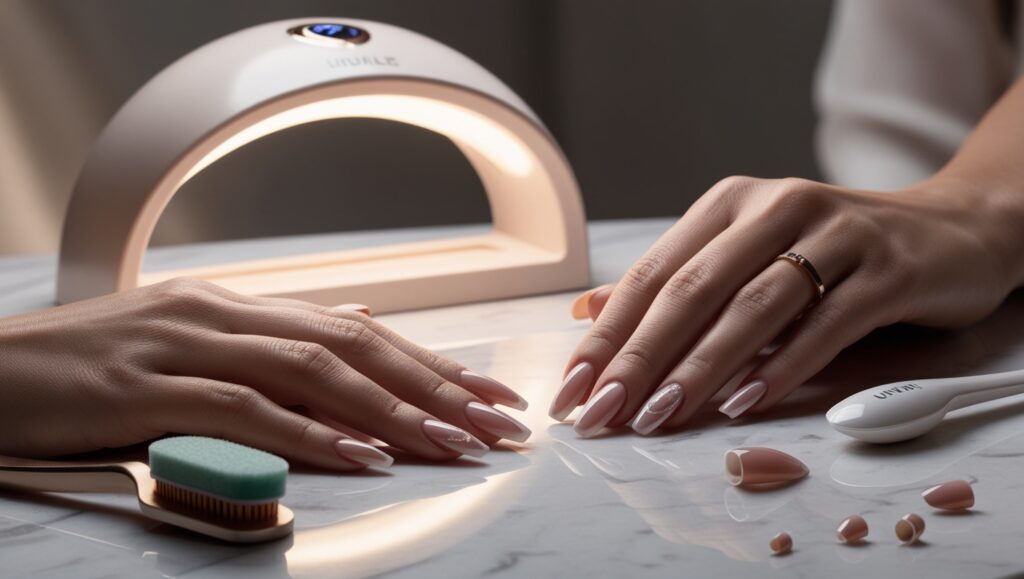
If you’ve chosen gel extensions, you’ll need a UV or LED lamp to cure them. After applying each layer of gel, place your hand under the lamp for about 30-60 seconds. This hardens the gel and ensures it’s set in place.
Curing gel extensions gives them extra durability, so don’t skip this step if you’re using gel products.
Sealing and Finishing Touches
Once your extensions are applied and shaped, it’s time to lock everything in with a few finishing touches. This step is all about making sure your nails are shiny, smooth, and long-lasting.
1. Apply a Top Coat
A top coat is essential for protecting your extensions and giving them that glossy, finished look. Make sure you apply a generous amount over the entire nail, sealing the tips as well to prevent chipping.
This step also gives your nails that salon-quality shine that we all love.
2. Moisturise Your Cuticles
After all the filing, gluing, and buffing, your cuticles might be a little dry. Apply some cuticle oil or hand cream and massage it into your cuticles. Not only does this keep your hands looking fresh, but it also helps prevent dryness and irritation.
Maintaining Your Nail Extensions
Now that you’ve mastered how to apply nail extensions at home, let’s talk about keeping them in top shape. Nail extensions require a little maintenance to stay looking their best, but it’s simple if you stay on top of it.
1. Avoid Excessive Water Exposure
Water can weaken the bond between your natural nails and the extensions, so make sure to avoid prolonged exposure. If you’re doing dishes or cleaning, it’s best to wear rubber gloves to protect your nails.
2. File and Buff Regularly
Over time, your extensions may grow out or lose their shape. Keep a nail file handy to maintain the shape, and give them a quick buff every week or so to keep the surface smooth.
3. Don’t Skip the Cuticle Care
Healthy cuticles lead to healthy nails. Keep your cuticles moisturised daily to prevent lifting and ensure your nail extensions stay strong and intact.
How to Apply Nail Extensions at Home: Maintenance and Troubleshooting
If you’ve followed the first part of this guide on how to apply nail extensions at home, your nails should be looking flawless by now. But let’s be real—after a few days of admiring your new nails, you might start wondering, “How do I keep them looking this good?” Or maybe you’ve hit a bump and run into some common issues, like lifting or cracking. Don’t worry—I’ve got you covered.
Let’s dive into maintenance tips and troubleshoot those annoying little problems, so your nail extensions stay fresh for as long as possible.
Maintaining Your Nail Extensions for Longevity
Once you’ve successfully learned how to apply nail extensions at home, the next step is making sure they last. Nobody wants to spend time doing their nails only for them to chip or fall off a few days later. These simple tricks will ensure your extensions stay on point.
1. Regularly Reapply Top Coat
Your top coat is the first line of defence against wear and tear. It adds a protective barrier that prevents chipping and keeps your extensions looking shiny. Reapplying a clear top coat every couple of days helps extend the life of your extensions.
Why this works:
- It adds an extra layer of protection against daily activities that could weaken the polish.
- Keeps your extensions looking glossy and new for longer.
Tip: Don’t forget to seal the edges of your extensions to prevent any lifting!
2. Protect Your Nails from Water and Chemicals
Water can be your nails’ worst enemy when it comes to lifting. Too much exposure to water softens the nail glue, weakening the bond between the extension and your natural nail.
Here’s how you can protect your nail extensions:
- Wear rubber gloves when washing dishes or cleaning.
- Avoid soaking your hands in water for long periods, especially hot water, which can weaken the extensions.
3. Moisturise Your Nails and Cuticles
We often forget this, but cuticle care plays a huge role in maintaining your nail extensions. Dry cuticles can lead to lifting and breakage, which shortens the life of your nails.
Simple moisturising routine:
- Apply cuticle oil daily to keep the area hydrated.
- Massage a rich hand cream into your nails and cuticles after washing your hands to lock in moisture.
The more hydrated your nails are, the longer your extensions will last.
Common Problems and How to Fix Them
Even after nailing the application process, you might run into a few hiccups. The good news is, most of these problems are easy to fix with some quick adjustments.
1. Nail Lifting
One of the most common issues with nail extensions is lifting—where the extension starts to pull away from your natural nail. This usually happens when the nail surface wasn’t properly prepped, or your hands have been exposed to too much water.
How to fix it:
- Buff the lifted area: Gently buff the lifted part to smooth the surface.
- Apply more glue: Add a small drop of nail glue under the lifted area and press it back down for about 10 seconds.
- Seal with a top coat: Apply a thin layer of top coat over the repaired area to smooth it out and prevent further lifting.
2. Cracks or Breaks in the Extensions
Accidents happen. If you’ve banged your nails or used them to open something (we’re all guilty of it), you might see a crack in the extension. Instead of removing the entire nail, you can easily fix it.
How to fix cracks:
- File the crack: Use a nail file to smooth out the edges of the crack, making sure there are no sharp bits.
- Add a repair layer: If you’re using gel extensions, apply a thin layer of gel over the cracked area and cure it under a UV/LED lamp.
- Buff and smooth: Once the repair is cured, buff the surface so it blends in with the rest of the extension.
3. Fading or Chipping Polish
Nail polish on extensions can sometimes fade or chip, especially if you didn’t apply a strong enough base and top coat. It’s an easy fix—just a bit of polish and some TLC can bring them back to life.
How to fix chips:
- Buff the chipped area: Smooth out the area where the polish has chipped.
- Reapply the polish: Paint over the chip with a matching polish. If needed, do a light touch-up across the whole nail to keep the look consistent.
- Seal with a top coat: Always finish with a fresh layer of top coat to keep everything in place.
Removing Nail Extensions Safely
Eventually, you’ll want to remove your nail extensions. Doing this at home can be tricky if you don’t know the right steps. Let’s go through how to remove them safely without damaging your natural nails.
1. Soak Off Acrylic Extensions
For acrylic nail extensions, the best method is soaking them in acetone.
Step-by-step removal:
- File off the top layer: Use a nail file to gently buff away the top layer of the acrylic.
- Soak in acetone: Soak cotton pads in acetone, place them over your nails, and wrap them in foil. Let them sit for about 20-30 minutes.
- Remove with an orange stick: Once the acrylic softens, use an orange stick or cuticle pusher to gently scrape off the remaining extension.
2. Remove Gel Extensions
For gel nail extensions, the process is similar, but you’ll need to be careful not to file too aggressively.
Removal steps:
- Buff the surface: Lightly file the top layer of the gel to break the seal.
- Soak in acetone: Just like with acrylics, use acetone-soaked cotton pads and foil to wrap your nails.
- Push off the gel: After soaking for 10-15 minutes, use a cuticle pusher to gently push off the gel.
Tip: Always moisturise your nails and cuticles after removing extensions. Acetone can be drying, so apply a thick layer of cuticle oil and hand cream to replenish moisture.

Reapplying Nail Extensions: Keeping the Routine Easy
If you loved the result of your first set of nail extensions at home, you’ll likely want to do it again. With practice, you’ll get quicker and better at applying and maintaining your extensions.
1. Keep Your Tools Organised
One key to making reapplication quick and stress-free is having everything you need organised. Keep your nail files, buffers, glue, and extensions in one easy-to-access spot.
2. Simplify Your Routine
As you get more experienced, you can streamline the steps. You’ll find that once you’ve done it a few times, applying nail extensions at home will feel like second nature. The more you practise, the better your technique will become, and the longer your nails will last each time.
3. Experiment with Different Styles
Once you’re comfortable with the basics, why not experiment with different types of nail extensions? Try coloured tips, ombre designs, or even add some nail art to make your next set stand out. You can switch things up without leaving your home or paying for expensive salon appointments.
By now, you should feel confident about how to apply nail extensions at home and keep them looking great for as long as possible. With regular maintenance and these simple fixes, your nail extensions will last longer and look better every time. Plus, you’ve got the skills to reapply them whenever you want—saving time, money, and getting that professional look right at home!
