How Long Should UV Light Shine on Gel Nails for Home Manicure?
You’ve got your gel polish ready, a shiny new UV lamp, and you’re excited for that salon-quality manicure from the comfort of your own home. But then the question hits: UV Light Shine Gel Nails Time for home manicure to ensure you get that perfect finish without messing it up?
We’ve all been there—staring at the UV light, wondering if you’re overdoing it or cutting the time short. No worries, let’s break it down in a simple way so you get flawless results every time.
What Makes UV Light Crucial for Gel Nails?
UV light isn’t just a fancy add-on when it comes to gel nails. It’s essential. Without the proper curing process using UV light, your gel polish just won’t harden or last. The magic happens when the UV light interacts with the molecules in the gel polish, turning it from a sticky mess to a hard, durable layer.
Without UV light, the gel won’t fully cure, meaning you’ll be left with chipping, peeling, or even smudging—basically, the opposite of what you want.
How Does UV Light Work for Gel Nails?
Here’s the science behind it: UV light activates the photo-initiators in the gel polish, causing a chemical reaction that turns the liquid or semi-liquid polish into a solid state. This is why the process is referred to as “curing.” Without this step, the gel will remain soft and vulnerable to damage.
The key to this process is getting the timing just right.
How Long to Cure Gel Nails with UV Light?
Let’s get to the real question: how long should UV light shine on gel nails during a home manicure?
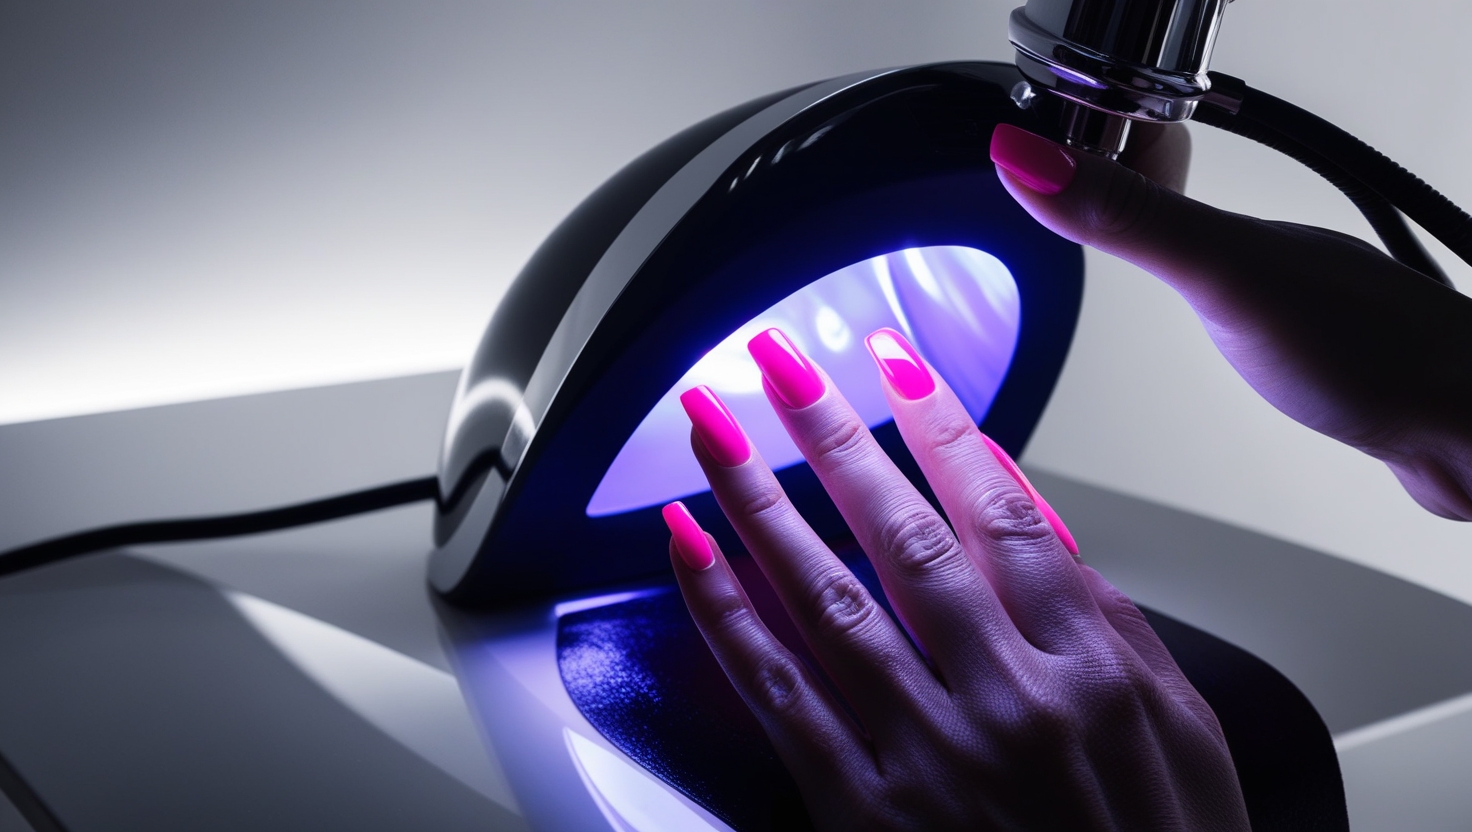
On average, you should cure each layer of gel polish for 2 to 3 minutes under a UV lamp. This time frame is pretty standard across most gel polishes, but there are a few factors that can affect the exact time needed.
Factors That Influence UV Curing Time
- Type of UV Lamp: Some UV lamps are more powerful than others. A higher-wattage lamp can cure nails faster, while a lower-wattage lamp might require a bit more time.
- Gel Polish Brand: Not all gel polishes are created equal. Some formulas require a longer curing time, while others harden quicker.
- Thickness of Application: If you’ve applied a thick layer of gel polish, it might take longer to cure compared to a thinner coat.
- Number of Coats: Each coat—base, colour, and top coat—needs to be cured. Make sure you give enough time for each layer to properly harden.
For most home gel manicures, 2-3 minutes per coat under a 36-watt UV lamp should do the trick. If you have a lower-wattage lamp, consider curing for up to 4 minutes just to be safe.

Common Mistakes When Using UV Light Shine Gel Nails Time
Now that you know how long to cure, let’s talk about the common mistakes people make when using UV light for gel nails at home. Trust me, avoiding these will save you time, frustration, and possibly a ruined manicure.
1. Under-Curing Your Gel Nails
This is probably the most common mistake when doing a home manicure. If you don’t leave your nails under the UV lamp long enough, the gel polish won’t harden properly. You might not notice it immediately, but after a day or two, your nails could start chipping or peeling. That’s why it’s so important to stick to the recommended curing times.
2. Over-Curing Your Gel Nails
Yes, over-curing is a thing. Leaving your nails under the UV light for too long can cause the gel polish to become brittle, making it more prone to cracking. So, more time doesn’t always mean better results. Stick to that sweet spot of 2-3 minutes per coat.
3. Thick Gel Polish Layers
It might be tempting to apply a thick layer of gel polish to speed up the process, but don’t do it. Thick layers can be harder to cure fully, leading to soft spots that will cause your nails to smudge or peel. Always apply thin, even layers and cure each one properly.
UV vs LED Lamps: Which is Better for Gel Nails?
So you’ve got your UV lamp, but you’ve also heard about LED lamps. What’s the difference, and should you switch?
1. Curing Time Differences
LED lamps are faster. While UV lamps take around 2-3 minutes per layer, LED lamps can cure a layer in 30 to 60 seconds. If you’re looking to save time on your home manicure, LED might be the way to go.
2. Gel Polish Compatibility
Here’s the catch: not all gel polishes are compatible with LED lamps. Some are specifically formulated for UV light, so check the label of your gel polish to see what type of lamp it requires. If it’s UV-only, switching to LED might not give you the best results.
3. Durability of the Manicure
Both UV and LED lamps give you durable results when used correctly. The key difference is the time it takes to cure. If you’re using a gel polish that works with either lamp, it really comes down to your preference and whether you want to shave off a few minutes from your curing process.
How to Safely Use UV Light at Home
Now that you know how long the UV light should shine on your gel nails, let’s talk safety. Yes, UV light can be safe when used properly, but it’s important to take precautions.
1. Protecting Your Skin
While the amount of UV exposure from a nail lamp is much lower than that from direct sunlight, it’s still a good idea to protect your skin. You can wear UV gloves (with the tips of your fingers exposed) to shield your hands or apply sunscreen to your hands before starting your manicure.
2. Avoiding Eye Exposure
Never stare directly at the UV lamp. It might not seem like a big deal, but UV light can be harmful to your eyes over time. Simply keep your eyes averted while curing your nails.
3. Keep Curing Sessions Short
There’s no need to go overboard with UV exposure. Stick to the recommended curing time, and if you’re unsure, it’s better to add a few extra seconds rather than minutes.
Step-by-Step Guide to a Home Gel Manicure
If you’re doing a home manicure with gel polish and UV light for the first time, don’t worry. Here’s a simple step-by-step guide to follow.
1. Prep Your Nails
Start by cleaning your nails thoroughly. Remove any old polish and push back your cuticles. You want a smooth, clean surface to apply the gel polish.
2. Apply a Base Coat
The base coat is essential for making the gel polish adhere properly. Apply a thin layer and cure it under the UV lamp for 2-3 minutes.
3. Apply the Gel Polish
Now for the fun part! Apply a thin, even layer of gel polish to each nail. Cure under the UV light for another 2-3 minutes. Repeat this process for each additional layer of colour.
4. Finish with a Top Coat
Your top coat will seal everything in and give your nails that gorgeous shine. Again, apply a thin layer and cure it for 2-3 minutes.
5. Cleanse Your Nails
After curing the top coat, your nails might feel a bit sticky. Use a cotton pad soaked in isopropyl alcohol to gently wipe away the tacky layer, leaving behind a smooth, glossy finish.
Wrapping It Up: Perfect Gel Nails at Home
So, how long should UV light shine on gel nails for home manicure? The answer is usually around 2-3 minutes per layer. Remember, curing time depends on factors like your UV lamp’s strength, the thickness of your polish, and the brand you’re using. Stick to the recommended time, and you’ll have long-lasting, salon-quality nails without the fuss!
What If You’re Using a Lower-Wattage UV Lamp?
Let’s say you don’t have a high-powered UV lamp. You bought a basic, affordable model for your home gel manicure—nothing fancy. How does that change things?
Here’s the deal: if your UV lamp is lower than 36 watts, it’ll take a little longer for your gel nails to cure. Instead of the standard 2-3 minutes, you may need to cure for 4-5 minutes per coat. The key is not to rush. Over- or under-curing gel polish will give you uneven results.
If you’re not sure about the wattage of your lamp, check the manual or the packaging. This will give you an idea of how long you should cure each layer for your specific setup.
How to Tell If You’ve Under-Cured Your Gel Nails
So, you’ve finished your manicure, but you’re not sure if the UV light did its job. How do you know if your nails are under-cured?
1. Sticky or Soft Finish
One of the biggest signs that you haven’t left your nails under the UV light long enough is a sticky or soft finish. After curing, the gel should be hard and smooth. If it still feels tacky or dents when you touch it, you need more curing time.
2. Peeling After a Few Days
Under-cured gel nails can peel or chip within just a few days. If your manicure starts breaking down sooner than expected, it’s a sign you didn’t give the UV light enough time to fully harden the layers.
How Long Should UV Light Shine on Different Gel Layers?
Not every layer of your gel manicure needs the same amount of time under the UV light. Each layer—whether it’s the base coat, colour, or top coat—needs to cure properly, but the time can vary slightly depending on the product and the lamp.
1. Base Coat
The base coat is crucial because it ensures the gel polish sticks to your nails properly. Under-cure the base, and the rest of your manicure could lift or peel. Cure it for 2-3 minutes under a standard 36-watt UV lamp.
2. Colour Layers
When it comes to the colour layers, it’s important to apply thin coats. This makes it easier for the UV light to penetrate and cure the gel evenly. Cure each colour layer for 2-3 minutes, but if you’re using a thicker gel polish, consider adding an extra 30 seconds just to be safe.
3. Top Coat
The top coat is what locks everything in and gives your nails that glossy finish. Like the other layers, a 2-3 minute cure under a UV lamp will usually do the trick. If you feel like your top coat is still a little tacky, add another 30 seconds to ensure it’s fully hardened.
What Happens If You Over-Cure Your Gel Nails?
You might be thinking, “If I under-cure my nails, that’s a problem. But can I over-cure them?” Yes, you can.
1. Over-Curing Makes the Gel Brittle
If you leave your gel polish under the UV light for too long, it can become overly brittle. This means that while it might feel rock-hard, it’s actually more prone to cracking. You want your nails to be tough, but with a little flexibility, so over-curing can work against you.
2. Discolouration
Over-curing can sometimes lead to discolouration of your gel polish, especially with lighter colours. Leaving the nails under UV light longer than necessary can cause the polish to lose its vibrancy or yellow over time.
Curing Gel Nails with LED Lamps: A Faster Alternative
Maybe you’ve heard about LED lamps and how they cure gel nails faster than traditional UV lamps. Should you switch?
1. Faster Curing Time
LED lamps can cure a layer of gel polish in as little as 30-60 seconds. If you’re looking to cut down on your curing time, LED is a great option. However, it’s important to note that not all gel polishes are compatible with LED lamps. If your polish is specifically designed for UV light, it might not cure properly under LED.
2. Longer Lamp Life
Another benefit of LED lamps is that they typically last much longer than UV lamps. While UV bulbs need to be replaced after a certain number of hours, LED lamps can last for tens of thousands of hours without needing replacement.
How Long Should UV Light Shine on Gel Nails for Different Nail Types?
If you’ve got thin or weak nails, you might need to adjust your curing process. Thin nails tend to heat up faster under the UV light, which can be uncomfortable. Here’s how to adapt:
- Thin nails: Try using a lower-wattage UV lamp or cure for shorter intervals, like 30 seconds at a time, then give your nails a few seconds to cool down before continuing.
- Thick or strong nails: You might be able to handle the standard 2-3 minute cure without any discomfort.
Curing Tips for Beginners
If you’re new to gel nails and the world of UV lamps, don’t worry. It’s all about practice. Here are some extra tips to help you get the hang of it:
1. Use a Timer
Set a timer for each curing session. Don’t eyeball it, because it’s easy to leave your nails under the UV light for too long or too short a time.
2. Apply Thin Layers
This can’t be stressed enough: thin layers cure better. If you’re applying thick coats of gel polish, you’re increasing the risk of under-curing, as the light can’t penetrate the layers evenly.
3. Cure in Phases
If you’re nervous about over-curing, try curing in short bursts. For example, cure for 30 seconds, take a break, then cure for another 30 seconds. This gradual process can help avoid the risk of under- or over-curing.

FAQs About UV Light and Gel Nails
Q: How long should UV light shine on gel nails for home manicure?
A: Typically, you should cure each layer of gel polish for 2-3 minutes under a standard 36-watt UV lamp. For lower-wattage lamps, you may need to cure for 4-5 minutes.
Q: Can I cure my gel nails for too long?
A: Yes, over-curing can make your gel polish brittle and prone to cracking. It can also cause discolouration in lighter gel colours.
Q: How can I tell if my gel nails are fully cured?
A: Fully cured gel nails should be hard, smooth, and not sticky to the touch. If they feel soft or tacky, they likely need more curing time.
Q: Can I use an LED lamp instead of a UV lamp for gel nails?
A: Yes, but check if your gel polish is compatible with LED lamps. LED lamps cure faster, but not all polishes work with them.
And there you have it—everything you need to know about how long UV light should shine on gel nails for a home manicure. Getting the curing time right is key to a long-lasting, flawless gel manicure that rivals any salon.
