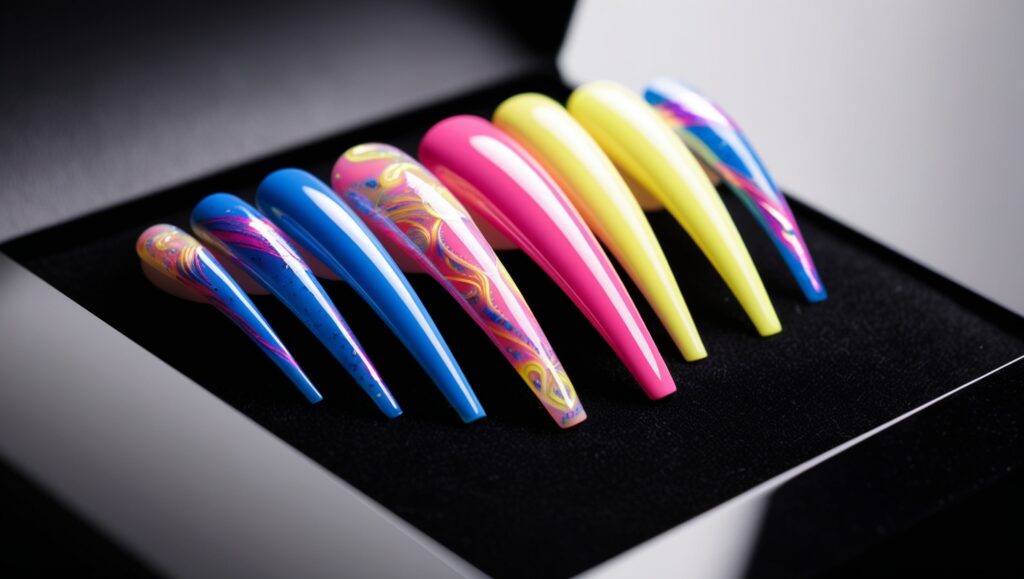
What Are Acrylic Nail Extensions and How Are They Applied?
Have you ever stared at someone’s perfectly manicured nails and thought, “How do they get them so long and flawless?” If you’ve ever wondered what acrylic nail extensions are and how they’re applied, you’re in the right place. Let’s break it down, step by step, no fluff, just the real stuff.
What Are Acrylic Nail Extensions?
Acrylic nail extensions are like superpowers for your nails. Imagine taking your short, natural nails and transforming them into long, stylish, and durable works of art. Sounds pretty cool, right?
Here’s how it works:
Acrylic nail extensions are created by combining monomer liquid and polymer powder. Together, they form a paste-like substance that hardens into a strong, long-lasting coating over your nails. These extensions are all about giving your nails length, strength, and that fresh-from-the-salon look.
Acrylic nails aren’t just for those who want longer nails. If your natural nails are weak, prone to breaking, or just need a bit of extra TLC, acrylics can add that much-needed strength and durability.
Why Do People Choose Acrylic Nail Extensions?
People love acrylic nails for one simple reason: they last. They’re tough, resilient, and can stand up to almost anything.
Here’s why acrylics are a popular choice:
- They provide length and shape that natural nails often can’t achieve.
- Acrylic nails are super durable, lasting several weeks with proper care.
- You can customise them however you want – whether you’re into subtle, natural looks or bold, dramatic designs.
- They’re ideal for those who want to stop biting their nails. With acrylics, you’ve got a solid reason to keep your hands off!

How Are Acrylic Nail Extensions Applied?
You’ve seen how stunning they look, but how are acrylic nail extensions applied? Here’s a simple, no-nonsense walkthrough:
1. Preparation: The Starting Point for All Great Nails
Before anything goes on your nails, they need to be prepped. It’s like priming a wall before you paint.
- The nail technician cleans, trims, and shapes your natural nails.
- They push back your cuticles to make room for the acrylics.
- A nail primer is applied to your nails. This is key. It gets rid of any oils on the surface of your nails, making sure the acrylic sticks properly. Without this, your new extensions would lift and peel off faster than you can say “manicure.”
2. Choosing Between Nail Tips or Forms
Once your nails are prepped, it’s time to decide whether you want tips or forms.
- Nail Tips: These are pre-made plastic extensions glued to the edge of your natural nails. They’re what give you that instant extra length.
- Nail Forms: These are stickers or papers that are placed around the nail to shape the acrylic without needing extra tips. They’re more of a freehand technique.
Both methods get the job done, but it depends on the look you’re going for.
3. Applying the Acrylic Mixture
Here comes the fun part – the actual acrylic.
- The nail tech dips a brush into the monomer liquid, then into the polymer powder, forming a small bead. This bead is applied to your nail (or tip) and then sculpted into shape.
- This mixture starts soft and malleable, which allows the technician to shape it perfectly to your nail’s desired length and curve.
- They work quickly because acrylic hardens as it’s exposed to air. There’s no UV light needed here – it dries naturally, but don’t worry, they’ve got the skills to shape it perfectly before it sets.
4. Shaping and Buffing the Nails
Once the acrylic has hardened (which happens in just a few minutes), the real artistry begins.
- Your nails are filed and shaped to perfection. This step is crucial because it defines the final look.
- A nail buffer is used to smooth out the surface of the acrylic, ensuring a flawless finish.
This is where you get to see your new nails take shape, and trust me, it’s satisfying.
5. Polishing Off the Look
The acrylic nails are set, shaped, and buffed. Now, it’s time to make them shine.
- A coat of polish is applied. Whether you go for a classic French tip, bold colour, or intricate nail art, this is where your personal style comes to life.
- If needed, a top coat seals everything in, giving your nails that extra gloss and protection.
And that’s it! Your acrylic nails are ready to rock.
How Long Do Acrylic Nail Extensions Last?
Here’s the beauty of acrylic nails – they’re in it for the long haul.
With proper care, they can last between two to three weeks. After that, you’ll notice the natural nails growing underneath, which means it’s time for a refill or a new set.
But don’t worry, you don’t need to get them completely redone every time. A simple fill-in can bring them back to life, without the cost or time of getting a new set.
Taking Care of Acrylic Nails
You’ve invested in your new nails, so it’s only right to keep them looking their best.
Here’s how to make your acrylics last:
- Keep your hands moisturised. Dry nails and cuticles can cause the acrylic to lift.
- Avoid using your nails as tools. We’re all guilty of using our nails to open cans or scratch things, but resist the urge.
- Wear gloves when doing household chores like washing dishes. Harsh chemicals can weaken the acrylic.
How to Remove Acrylic Nails Safely
Now, this is crucial. When it’s time to say goodbye to your acrylic nails, don’t peel or rip them off. I can’t stress this enough.
Here’s the safe way to remove acrylic nails:
- Soak your nails in acetone for 20-30 minutes.
- Use a cuticle pusher to gently remove the softened acrylic.
- Buff the surface of your nails to remove any remaining residue.
If you’re not sure you can do this at home, head back to your nail tech. They’ve got the tools and know-how to remove them without damaging your natural nails.
The Pros and Cons of Acrylic Nail Extensions
You’ve heard the good stuff, but like anything, acrylic nails come with their pros and cons.
Pros:
- Long-lasting: With the right care, acrylics last weeks, even with daily wear and tear.
- Customisable: You can go as long or as short as you want. And the design options? Endless.
- Durability: Acrylics are tough, perfect for those whose natural nails break easily.
Cons:
- Maintenance: You’ll need to get them filled in every few weeks to keep them looking fresh.
- Potential for Damage: If not applied or removed properly, acrylics can damage your natural nails.
- Cost: Acrylics are an investment. Between the initial application and regular fills, it can add up.
Acrylic Nail Extensions vs. Gel Nails
Acrylic nails often get compared to gel nails, so let’s quickly clear up the difference.
- Acrylic nails: Tougher, harder, and generally longer-lasting. They air dry.
- Gel nails: More flexible, lighter, and cured under a UV light. They give a more natural look.
So, which is better? It depends on what you’re after. If you want strength and durability, acrylic nails win hands down. But if you prefer a more natural feel, gel nails might be your best bet.
How to Keep Acrylic Nail Extensions Looking Fresh
Now that you’ve got your acrylic nail extensions, how do you keep them looking flawless?
Here’s the thing – acrylic nails need a little love. They’re durable, sure, but if you want them to stay chip-free and looking as sharp as the day you left the salon, follow these tips:
- Keep them dry: Water can cause lifting, especially around the edges. After washing your hands or doing dishes, dry your nails thoroughly.
- Moisturise your cuticles: Keep those cuticles in check. Dry, ragged cuticles can mess with the look of your nails and potentially lead to lifting. Use cuticle oil or hand cream daily.
- Avoid harsh chemicals: Cleaning products can break down the acrylic over time. So, wear gloves when you’re scrubbing or using household cleaners.
- Don’t use your nails as tools: Seriously, I know it’s tempting to open that can of soda with your nails, but resist. It weakens them over time.
Acrylic nails are sturdy, but they need maintenance to stay flawless.
Common Mistakes with Acrylic Nail Extensions
Okay, real talk: People make mistakes with acrylic nail extensions all the time, and it leads to all sorts of problems. If you’re going to get acrylic nails, make sure you avoid these:
- Skipping regular fills: I get it, life gets busy. But skipping your fill-in appointments will only make your acrylics prone to lifting, breaking, and looking shabby. Aim to get them filled every 2-3 weeks.
- DIY removal: Please, for the love of your natural nails, don’t yank off your acrylics. This will leave your nails weak and damaged. Always soak them in acetone or have a professional remove them.
- Not prepping the nail properly: If your nail tech skips the primer or rushes through the prep, your acrylics will not last. Prep is everything.
Acrylic Nail Extensions for Special Occasions
Acrylic nail extensions aren’t just for everyday wear – they’re perfect for special occasions.
Weddings, parties, holidays—any event where you want your nails to be on point, acrylics are the go-to.
They last long enough to get you through the event without worrying about chips or breakage, and the customisation options are endless. You can go for glitter, crystals, bold colours, or keep it simple with nude tones. Whatever vibe you’re after, acrylic nails have your back.
Got a holiday or special occasion coming up? You’ll want acrylic nail extensions to complete the look.
Can You Do Acrylic Nail Extensions at Home?
Let’s get this out of the way – yes, you can do acrylic nail extensions at home, but should you?
Unless you’re experienced, I wouldn’t recommend it. Here’s why:
- Messy process: Mixing the monomer and polymer to create that perfect acrylic bead isn’t easy. It takes precision and speed.
- Risk of damage: Without the right tools and technique, you could end up damaging your natural nails. Not to mention, acrylics can go wrong fast if applied incorrectly.
- Longevity: Professional acrylics last longer because nail techs know how to apply them properly. DIY jobs often don’t last as long or look as polished.
So, while it’s technically possible, leave it to the pros if you want long-lasting, salon-quality results.

FAQs About Acrylic Nail Extensions
Let’s answer some of the most common questions people ask about acrylic nail extensions.
Q: Do acrylic nails damage your natural nails?
A: If applied and removed correctly, acrylic nails won’t damage your natural nails. The key is to never rip them off. Always have them professionally removed or soak them off with acetone.
Q: How often do acrylic nails need to be filled?
A: On average, acrylic nails need to be filled every 2-3 weeks, depending on how fast your nails grow and how well you take care of them. Regular fills keep your nails looking fresh and prevent lifting.
Q: Can I paint over acrylic nails?
A: Absolutely! You can paint over acrylic nails just like your natural nails. You can switch up your polish colour as often as you like. Just make sure you use a non-acetone nail polish remover to avoid weakening the acrylic.
Q: Are acrylic nails better than gel nails?
A: It depends on what you’re looking for. Acrylic nails are known for their strength and durability, while gel nails are more flexible and offer a more natural look. Acrylics tend to last longer and are harder, making them ideal if you need something robust.
Q: How long do acrylic nails last?
A: Acrylic nails can last between 2-3 weeks before needing a fill. However, with proper care, they can look good for longer. After about three weeks, though, your natural nails will have grown out, and it’s time for a touch-up.
Q: Can you fix a broken acrylic nail?
A: Yes, if one of your acrylic nails breaks, your nail tech can fix it without having to replace the whole set. A quick repair job will get that nail back in shape in no time.
Q: Are acrylic nails safe?
A: When done by a professional in a clean environment, acrylic nails are safe. However, poor application or improper removal can cause issues like fungal infections or damage to your natural nails.
