You’ve just finished a fresh gel manicure at home, and you’re feeling great. But then, a few days later, bam—a chip. If you’re anything like me, you’ve probably asked, “How do I make my gel nail polish last longer at home?”
It’s frustrating, right? You’ve put in the time and effort, but the results don’t last as long as you want. Well, here’s the thing: making your gel nails last isn’t just about the polish. It’s about the whole process—from prep to care.
Let’s dive in.
Prepping Your Nails: The Foundation for Long-Lasting Gel Polish
If you want your gel nail polish to last longer at home, it all starts with proper nail preparation. Skipping the prep or rushing through it is the number one reason your gel nails won’t hold up.
So let’s get serious about prep.
1. Clean and Buff Your Nails
Ever wonder why salon nails seem to last forever? It’s all in the details. Before you even touch that bottle of gel polish, make sure your nails are properly buffed and cleaned. This ensures a smooth surface for the polish to adhere to.
- Buffing the nail surface removes any ridges or bumps. You want a smooth, even surface for the gel to stick.
- Use a nail dehydrator or rubbing alcohol to get rid of oils. Oils on your nails can prevent the gel polish from adhering properly. A quick swipe of alcohol ensures the nail is completely clean and ready for the gel application.
2. Nail Shape Matters
Shaping your nails might seem cosmetic, but it’s more than just about looks. If your nails are uneven or have sharp edges, they’re more likely to snag, and that’s where chipping starts.
- Use a nail file to round off sharp edges. Rounded shapes are less prone to lifting or chipping compared to square or pointed edges.
Applying Gel Nail Polish: Thin Layers Are Key
Here’s a golden rule when applying gel nail polish—thin layers. If your layers are too thick, the polish won’t cure properly, and it’ll start peeling within days. Trust me on this one.
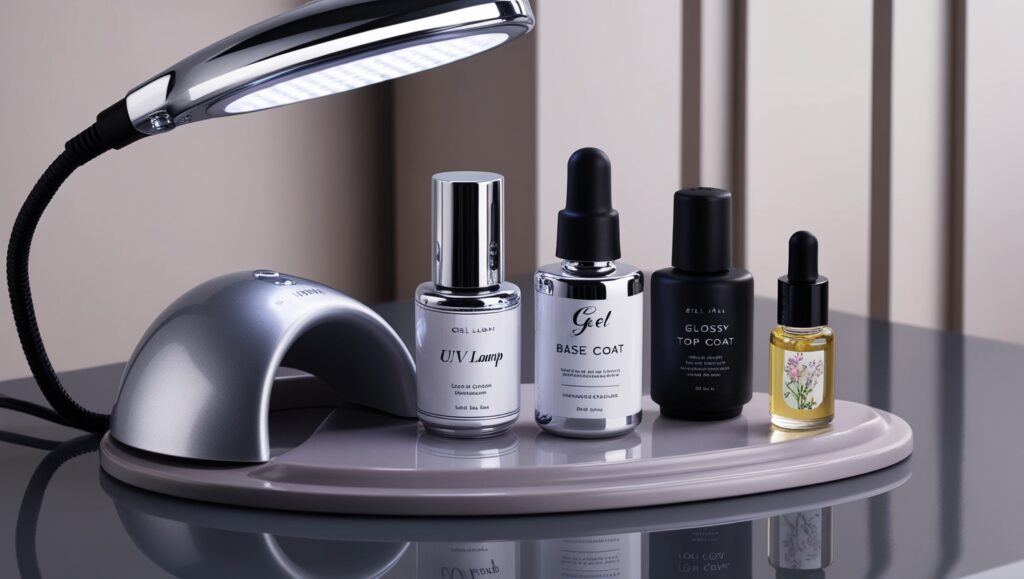
1. Use a Base Coat
Always, always, always start with a base coat. Not only does it help the gel polish stick better, but it also protects your natural nails from staining.
- Apply one thin layer of base coat, making sure to cover the entire nail surface evenly. This creates a solid foundation for the gel polish.
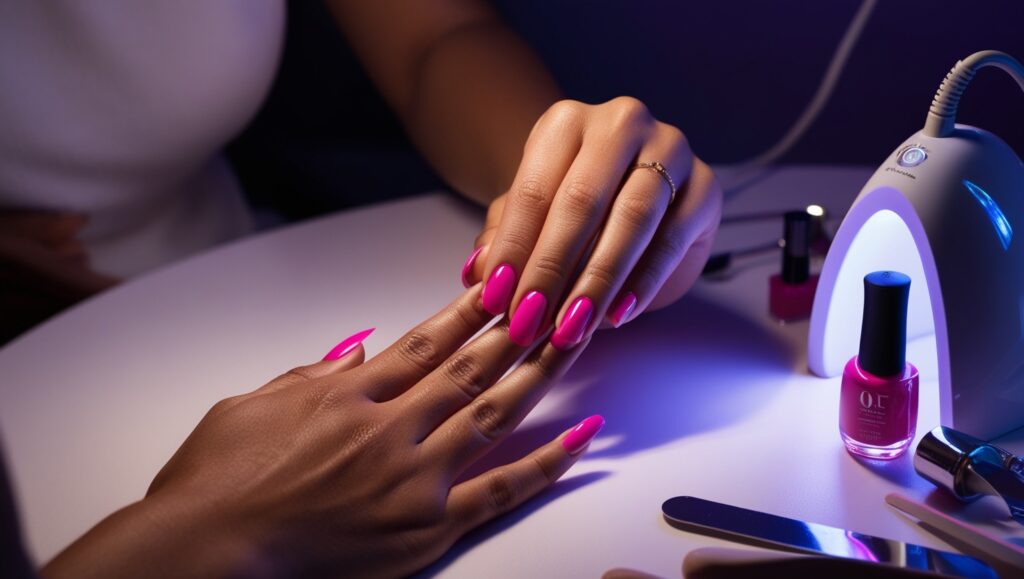
- Cure under your UV lamp for the recommended time. Don’t rush the curing process. Under-curing is one of the biggest reasons gel nails peel off.
2. Thin, Even Layers of Gel Polish
When it comes to gel nail polish, less is more.
- Apply thin coats of gel polish. Don’t try to get full coverage in one go. It’s better to apply two or three thin layers rather than one thick one.
- Cure each layer under your UV light. Again, don’t rush this. Each layer needs to be fully cured before you apply the next one.
One time I tried to speed up the process by applying a thick layer, thinking I’d save time. Guess what? It peeled within two days. Lesson learned: thin layers are the way to go.
3. Seal the Free Edge
Here’s a small detail that makes a huge difference—seal the free edge of your nails. What does this mean? It’s simple. After applying your gel polish to the main part of the nail, swipe a bit of polish over the tip of the nail to lock everything in.
- Sealing the free edge prevents chipping and gives your gel nails extra durability.
The Top Coat: Your Secret to Long-Lasting Gel Nails
The top coat is the final step in your gel nail polish application, and it’s crucial for making your nails last longer. It not only adds shine but also acts as a protective layer.
1. Apply a Strong Top Coat
Choose a top coat designed specifically for gel nails. Regular top coats won’t cut it here. You need something that’s durable and designed to work with the gel formula.
- Apply a thin layer of top coat to seal the gel polish in place.
- Cure it under your UV lamp for the full recommended time.
2. Reapply Top Coat Every Few Days
To keep your gel nails looking fresh and strong, reapply your top coat every few days. This gives your nails extra protection and helps to maintain that shiny, chip-free finish.
Post-Application Care: How to Maintain Gel Nails at Home
Now that your gel nail polish is looking flawless, the real work begins. Maintaining your nails is just as important as the application process. Without proper care, even the best application can start to wear down.
1. Moisturise Your Cuticles
Healthy nails start with healthy cuticles. Dry, cracked cuticles can lead to lifting, and that’s the beginning of the end for your gel polish.
- Use cuticle oil daily to keep the skin around your nails soft and moisturised.
- Massage the oil in, making sure to cover the cuticle and nail bed. This not only keeps your nails healthy but also prevents peeling.
2. Avoid Excessive Water Exposure
Water is one of the biggest enemies of long-lasting gel nails. Constant exposure to water can weaken the bond between the polish and your natural nail.
- Wear gloves when doing dishes or cleaning to avoid excessive water contact.
- Try to avoid long, hot baths or showers, as the heat and water can cause the gel to lift over time.
3. Be Mindful of Harsh Chemicals
Another thing that can ruin your gel nail polish? Harsh chemicals. Cleaning products and nail polish removers (especially those with acetone) can weaken your gel manicure.
- Always wear gloves when using cleaning products.
- Avoid acetone-based nail polish removers unless you’re intentionally removing your gel nails.
Fixing Common Gel Nail Issues
Even with the best prep and care, things can still go wrong. So what do you do if your gel nail polish starts to chip or lift?
1. Reapply Top Coat
If you notice a small chip, don’t panic. You can usually fix it by reapplying your top coat. This can help seal the gel polish back in place and prevent further chipping.
2. Buff and Smooth Out Rough Edges
If the gel starts to lift at the edge, grab a nail buffer. Lightly buff the lifted area to smooth it out. After buffing, apply a thin layer of top coat to protect the area.
3. Don’t Peel It Off!
I know it’s tempting, but resist the urge to peel off your gel nails. Peeling the gel off can damage your natural nails, leaving them weak and prone to breakage. Instead, use a proper gel polish remover when it’s time to take them off.

Preventing Lifting and Peeling: The Ultimate Guide
You’ve done everything right—nail prep, applied thin layers of gel polish, and even sealed the edges. But what happens when the gel starts to lift after a few days? Nothing is more frustrating than seeing the edge of your gel polish lifting and knowing it’s a matter of time before it peels.
Here’s how you prevent that.
1. Avoid Getting Gel Polish on Your Cuticles
This one’s huge. If your gel polish touches the skin or cuticles, it creates a barrier that can cause the polish to lift prematurely.
- Be extra careful when applying gel polish. If you get any on your skin or cuticles, remove it immediately with a small brush dipped in acetone before curing under the UV lamp.
- Clean edges equal a longer-lasting manicure.
2. Don’t Rush the Curing Process
I’ve been guilty of this—trying to speed up the process by under-curing my nails. But if you want to know how to make gel nail polish last longer at home, curing each layer properly is non-negotiable.
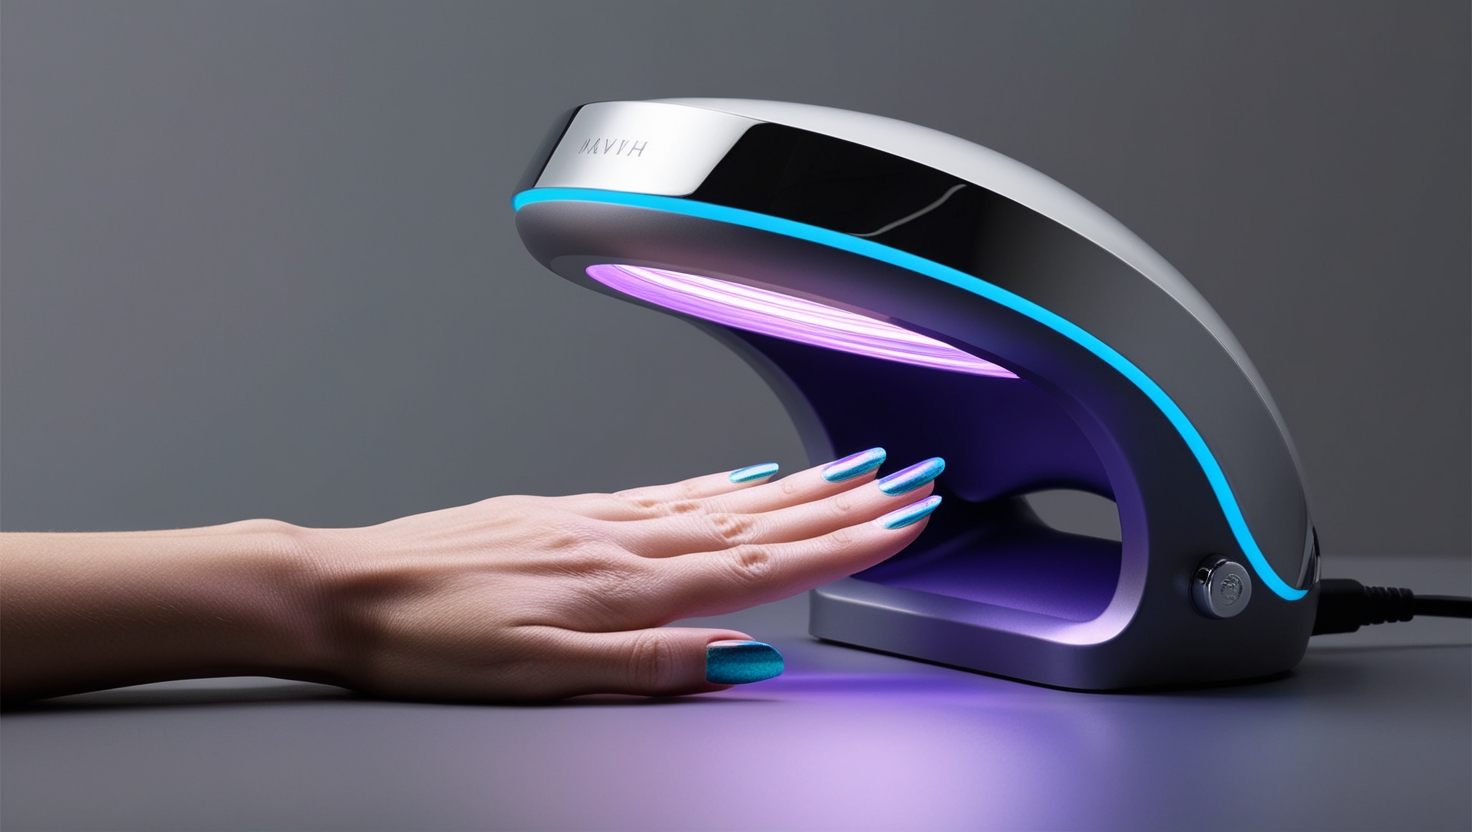
- Give each layer of gel polish enough time under the UV or LED light. Check the recommended curing time for your lamp and follow it to the letter.
- If you skimp on curing time, your nails will lift and peel much faster.
3. File the Free Edge of Your Nails
Even after you’ve applied and cured the gel, the edges of your nails are still vulnerable. To keep your gel polish intact, use a fine nail file to lightly smooth the free edge.
- This little trick seals the edge and makes your manicure more resistant to chipping and peeling.
How to Make Your Gel Nails Last Through Daily Wear and Tear
Let’s be real—your nails go through a lot in your day-to-day life. From typing on a keyboard to doing dishes, these small tasks can take a toll on your gel nails.
1. Wear Gloves During Household Chores
I can’t stress this enough. Water and harsh cleaning chemicals are the enemies of gel nails. Constant exposure to water weakens the bond between the polish and your nails.
- Use gloves when washing dishes, cleaning, or doing any task that involves prolonged exposure to water or harsh chemicals. This simple habit can make a massive difference in how long your gel nail polish lasts.
2. Avoid Using Your Nails as Tools
Using your nails to open cans or scrape off stickers? Guilty as charged. But this is a guaranteed way to damage your gel polish. Even though gel nails are durable, they’re not invincible.
- Use proper tools for tasks like opening boxes or peeling labels. Your nails aren’t tools, and treating them as such will only shorten their lifespan.
3. Keep Your Hands and Nails Hydrated
Hydration is key to strong, healthy nails. Dry nails are more likely to break and peel, which weakens your gel manicure.
- Regularly apply cuticle oil to keep your nails and the surrounding skin hydrated.
- Moisturised cuticles = longer-lasting gel nails.
Quick Fixes for Chipped Gel Nails
Despite all the precautions, chips happen. But don’t panic. You don’t always need to redo your entire manicure just because of a tiny chip. Here’s how to handle minor issues.
1. Buff and Reapply
If you notice a small chip, grab a nail buffer and smooth out the area around the chip. Once the edge is smooth:
- Apply a small amount of gel polish over the chipped area.
- Cure under your UV lamp.
- Add a layer of top coat to seal the repair, and you’re good to go.
This trick is perfect for when you need a quick fix and don’t have time for a full reapplication.
2. Reapply Top Coat
If your nails are still mostly intact but losing their shine or starting to show signs of wear, reapplying a top coat can give them a new lease of life.
- Simply apply a fresh layer of gel top coat and cure it under the lamp. This will add a protective layer and make your nails look brand new.
How to Properly Remove Gel Nails Without Damaging Them
Here’s the thing—ripping off your gel nail polish is one of the worst things you can do. I’ve done it in the past, and it left my natural nails thin and damaged. If you want your nails to remain strong and healthy, you need to remove your gel polish the right way.
1. Soak, Don’t Peel
Instead of peeling off your gel nails, you should soak them. Here’s how:
- File the top layer of your gel polish to break the seal.
- Soak a cotton ball in acetone, place it on your nail, and wrap it in aluminium foil. Let it sit for 10–15 minutes.
- Once the gel softens, gently push it off with a cuticle pusher.
2. Buff and Moisturise
After removing the gel, gently buff the surface of your natural nails to smooth out any rough spots. Your nails will likely be dry after the acetone soak, so follow up with cuticle oil and a rich hand cream to rehydrate your nails.
Final Tip: Practice Makes Perfect
Learning how to make your gel nail polish last longer at home isn’t rocket science, but it does take practice. The more you do it, the better you’ll get at figuring out the right application techniques that work for you.
By following these steps, you’ll have gel nails that last for weeks, saving you the frustration of constant touch-ups and reapplications. Keep your nails prepped, apply thin layers, and care for them properly after your manicure.

FAQs
1. How can I make gel nail polish last longer at home?
Proper prep, applying thin layers, and curing each coat under a UV lamp for the recommended time are key. Also, protect your nails from water and harsh chemicals, and regularly moisturise with cuticle oil.
2. Why does my gel nail polish peel off so fast?
Peeling is usually a result of poor nail prep. Oils or moisture on the nail plate can prevent the gel polish from adhering properly. Make sure you buff your nails, clean them with a nail dehydrator, and avoid getting polish on your cuticles.
3. Can I make my gel nails last without a UV lamp?
No, gel polish requires a UV or LED lamp to cure properly. Skipping the curing process will result in your nails peeling or not setting correctly.
4. How do I stop my gel nails from lifting?
Ensure you apply thin layers and avoid getting gel polish on your skin or cuticles. Filing the free edge after applying gel can also prevent lifting.
5. Can I apply a regular top coat over gel nails?
It’s best to use a gel-specific top coat. Regular top coats won’t adhere as well to the gel polish and may cause the manicure to peel or chip faster.
