You’ve probably heard of monomer in the world of nails, especially if you’ve dabbled with acrylic nails.
But what exactly is it, and how do you use it?
When I first started learning about acrylics, I had a million questions. Is it a liquid? How does it work with the powder? Why do some people say it smells so strong? Well, we’re about to answer all of that and break it down so it’s easy to understand.
What Is Monomer for Acrylic Nails?
Monomer is essentially the liquid half of the acrylic nail duo.
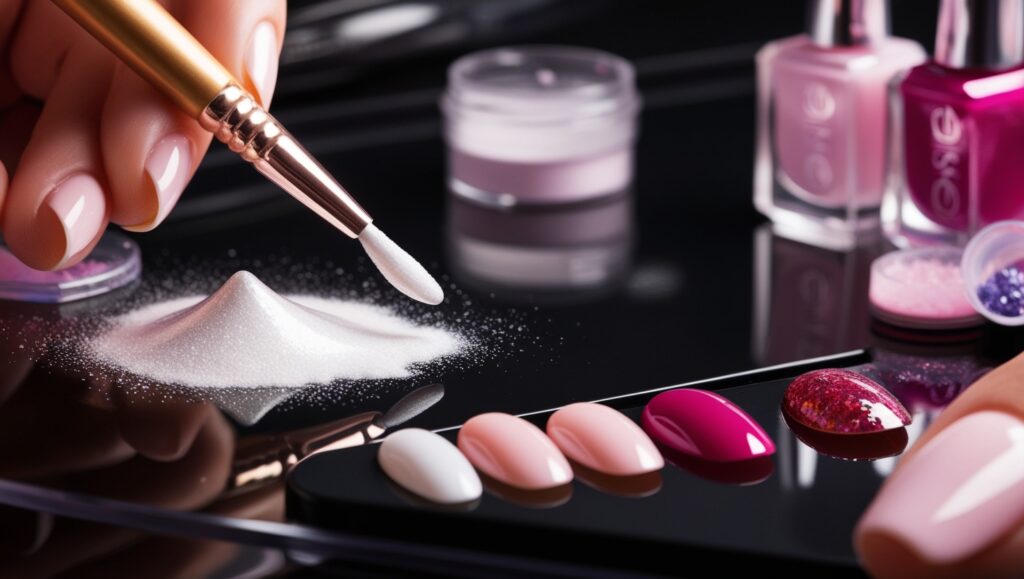
To put it simply, monomer combines with acrylic powder to create that smooth, mouldable mixture that eventually hardens into a solid, durable nail. It’s the key ingredient in the acrylic nail application process, and without it, you’d just have a powder that sits there doing nothing.
Monomer kicks off the chemical reaction called polymerization when it meets acrylic powder. This is where the magic happens. It’s like the foundation of any good acrylic nail set. Without monomer, there’s no way you’d get the strength and structure you need.
Why Is Monomer So Important?
Think of monomer as the glue that holds everything together. It’s what transforms the acrylic powder into a flexible, workable material before it hardens into a solid structure. That’s why it’s critical to get the right balance of monomer and acrylic powder for smooth, long-lasting nails.
Not all monomers are created equal. Some come with strong odours (hello, traditional monomer), while others are odourless monomers designed to be less intense for your nose.
How to Use Monomer for Acrylic Nails
Alright, now that you know what monomer is, let’s get into how to actually use it when applying acrylic nails at home or in the salon.
Monomer and acrylic powder work together, but if you don’t use them correctly, your nails can end up looking thick, uneven, or prone to lifting. Nobody wants that.
Step-by-Step Guide to Using Monomer for Acrylic Nails
- Prep Your Nails FirstBefore you even think about dipping your brush into monomer, make sure your nails are prepped. This means buffing the nail surface, pushing back cuticles, and cleaning them up. Prepping your nails properly prevents the acrylic nails from lifting later.
- Set Up Your WorkstationPour the monomer into a small container or dappen dish. Make sure you’ve got your acrylic powder nearby, a clean nail brush, and good ventilation (especially if you’re using a monomer with a strong smell).
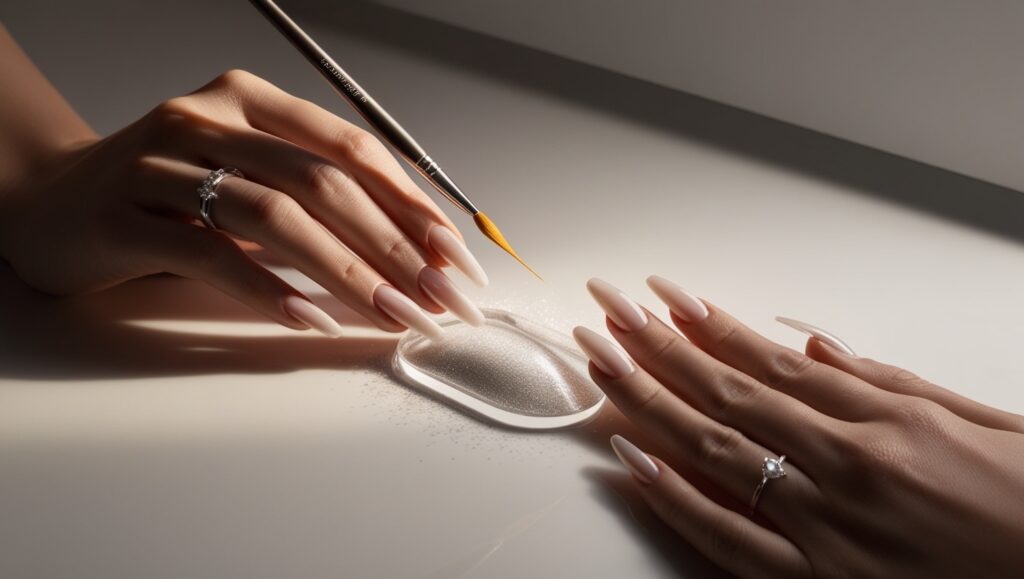
- Pick Up the Right Amount of Acrylic PowderHere’s where the balance of monomer and acrylic powder comes into play. Dip your brush into the monomer and let it absorb just enough liquid, but not too much. Then, touch it to the acrylic powder to form a small bead. If the bead is too dry, add more monomer. If it’s too wet and runny, dip your brush again and try less monomer.
- Apply the Mixture to Your NailsOnce you have your bead, apply it to the nail. Start at the cuticle and work your way to the tip. The goal is to sculpt the acrylic smoothly and evenly, without lumps or bumps. You’ll need to move fairly quickly because the acrylic mixture will begin to harden as the polymerization process kicks in.
- Shape and SculptAs you work the acrylic mixture onto the nail, use your brush to shape it. Create the structure and length you want, making sure it’s even. Don’t worry if it’s not perfect on the first try—acrylic nails can be filed and shaped once they’ve hardened.
- Let It DryOnce you’re happy with the shape, let the acrylic nails harden completely. This usually takes a few minutes. Once dry, you can file and shape them to your desired finish.
Tips for Using Monomer Correctly
Using monomer for acrylic nails is a bit of an art. It’s all about balance. Too much or too little monomer, and you’ll have problems. Here’s how to get it right:
1. Balance Your Ratio
The ratio of monomer to acrylic powder is key. If your mixture is too dry, it’ll be hard to work with, and the nails will likely crack or chip. Too wet, and it’ll be runny, making it tough to control and leaving you with lumpy nails.
2. Use Quality Monomer
Not all monomers are made the same. Cheap monomers might not give you the best results. A good quality monomer will make the process smoother and help prevent lifting or cracking.
3. Ventilation Is Key
If you’re using a traditional monomer with a strong odour, make sure you’re in a well-ventilated area. That smell can get overwhelming fast. If the odour bothers you, look for odourless monomers, which are gentler on your senses.
4. Keep Your Brushes Clean
Monomer and acrylic can gunk up your brushes quickly. Clean your brushes regularly with monomer to keep them in good shape. A clean brush will help you apply the acrylic mixture smoothly and evenly.
Safety and Care When Using Monomer
It’s not just about looking good—it’s also about using monomer safely. Monomers contain chemicals, so you want to handle them carefully.
1. Avoid Skin Contact
While monomer is safe for nail use, it’s best to avoid getting it on your skin. Use a good brush to apply the acrylic so it stays on the nail.
2. Work in a Well-Ventilated Area
Like we mentioned earlier, monomer can have a strong smell, so make sure you’re working in a well-ventilated room to avoid headaches or irritation. Open a window or use a fan to keep the air moving.
3. Clean Up Properly
Once you’re done using the monomer, clean your brushes and workstation. This keeps your tools in good shape and prevents any leftover monomer from hardening on your brushes or other surfaces.
Aftercare for Acrylic Nails
Once you’ve successfully applied your acrylic nails, the job isn’t quite done yet. Taking care of your acrylic nails is just as important as applying them.
1. Moisturise Your Cuticles
Acrylics can be tough on your natural nails and cuticles. Regularly apply cuticle oil to keep the skin around your nails hydrated and healthy.
2. Reapply Top Coat
To keep your acrylic nails shiny and protected, apply a clear top coat every few days. This helps prevent any chipping or dullness.
3. Avoid Harsh Chemicals
Harsh cleaning products can wear down your acrylic nails. Use gloves when doing chores like washing dishes or cleaning with strong chemicals.

Common Mistakes to Avoid When Using Monomer for Acrylic Nails
Using monomer seems simple enough, but trust me, it’s easy to make a mistake if you’re not careful. The most common issues come down to ratios, application speed, and product quality.
1. Incorrect Monomer-to-Powder Ratio
The balance between monomer and acrylic powder is everything. Too much monomer and your acrylic will be too runny, making it tough to control and leading to uneven nails. Too little monomer? The acrylic will be dry, grainy, and prone to lifting.
How to Avoid It:
- Use the right brush: Your brush should be just large enough to hold the right amount of monomer without overloading it. A good quality nail brush designed for acrylic nails will make a huge difference.
- Perfect your ratio: Dip your brush into the monomer and swipe it along the acrylic powder. You should see a small bead forming that’s neither too dry nor too wet. Practice makes perfect here.
2. Applying Too Thickly
You may think that more product equals stronger nails, but that’s not the case. When you apply acrylic nails too thickly, they become bulky, uncomfortable, and more likely to break.
How to Avoid It:
- Focus on building the structure in layers. Start thin at the cuticle and gradually build the apex (the highest point of the nail) before thinning out towards the free edge.
- Keep your acrylic application thin and even. You can always add more layers if needed, but going too thick from the start will cause issues.
3. Not Preparing the Nails Properly
The most perfectly applied monomer and acrylic powder won’t matter if your nails aren’t prepped correctly. Oils and moisture on the nail can cause lifting, and nobody wants that.
How to Avoid It:
- Before you start, buff the nail plate to remove shine. This gives the acrylic something to grip onto.
- Clean the nails with a dehydrator or alcohol to remove any oils. This ensures that your acrylic nails stick better.
Choosing the Right Monomer for Acrylic Nails
Not all monomers are the same. There’s the traditional type (which smells strong) and the odourless monomer, which is a bit more user-friendly. So, which should you choose?
1. Traditional Monomer
This is what most professionals use. It has a strong odour, which might be unpleasant, but it works quickly and is very reliable.
- Pros: Fast setting time, durable results.
- Cons: Strong smell, requires good ventilation.
2. Odourless Monomer
If the smell is an issue for you, odourless monomers are a solid alternative. They still bond well with acrylic powder but have a longer setting time, which gives you more time to work on your design.
- Pros: Less odour, more working time.
- Cons: Slower drying time, which might not be ideal if you’re in a hurry.
3. Monomer for Beginners
If you’re just starting out, I recommend trying an odourless monomer. It gives you more time to adjust and shape the acrylic, which is perfect when you’re still learning.
How to Maintain Acrylic Nails After Application
You’ve applied your acrylic nails with monomer—great! But the process doesn’t end there. The way you maintain your nails after application is just as important.
1. Keep Your Cuticles Moisturised
After applying acrylics, your natural nails might dry out, especially around the cuticle area. Cuticle oil will keep the skin around your nails soft and prevent cracks that can lead to lifting.
2. Apply a Top Coat Every Few Days
To keep your acrylic nails shiny and chip-free, add a clear top coat every few days. This locks in the design and ensures your nails stay protected.
3. Be Gentle with Your Hands
Acrylic nails are strong, but they’re not invincible. Avoid using your nails as tools (like opening cans), and wear gloves when cleaning or doing anything that involves harsh chemicals.
Why Is My Acrylic Lifting?
One of the most frustrating things you can experience is your acrylic nails lifting. Trust me, I’ve been there. The reasons for lifting can vary, but here are some common culprits:
1. Poor Nail Prep
As mentioned earlier, if your nails aren’t prepped correctly, the acrylic won’t bond properly. Always buff the nail plate and remove oils before applying monomer and acrylic powder.
2. Incorrect Monomer-to-Powder Ratio
Too much or too little monomer can cause the acrylic to lift. You want that bead of acrylic to be perfectly balanced, not too dry and not too wet.
3. Not Enough Pressure When Applying
When you apply the acrylic, you need to gently press it into the nail plate. This helps the product bond better. If you just “place” it on the nail, it won’t adhere properly, leading to lifting.
Best Practices for Using Monomer for Acrylic Nails
By now, you should have a good idea of how to use monomer for acrylic nails. But let’s summarise some of the best practices to keep in mind:
- Always work in a well-ventilated area when using monomer, especially if you’re using a traditional one with a strong smell.
- Clean your nail brush after each use. Monomer can build up on the bristles, which makes it harder to apply evenly in the future.
- Don’t rush the application. Take your time to get the perfect monomer-to-powder ratio, and make sure the acrylic is applied thinly and smoothly.
- Use a quality monomer. Cheaper products might save you money upfront, but they often lead to poor results. Investing in a good monomer will pay off in the long run.

FAQs
1. What is monomer for acrylic nails?
Monomer is a liquid used with acrylic powder to create a mixture that hardens into acrylic nails. It’s essential for the application process and creates strong, durable nails.
2. How do I use monomer for acrylic nails?
To use monomer, dip your brush into the liquid and combine it with acrylic powder to form a bead. Apply the mixture to your nails, sculpting it as you go.
3. Why is my acrylic lifting?
Acrylic nails can lift if your nails aren’t prepped correctly, the monomer-to-powder ratio is off, or you don’t apply enough pressure when sculpting the acrylic.
4. Can I use odourless monomer?
Yes, odourless monomers are a great alternative to traditional ones, especially if the strong smell bothers you. They give you more time to work, but they take longer to set.
5. How do I clean my nail brush after using monomer?
After using monomer, dip your brush into fresh monomer to clean it. Gently wipe the bristles with a lint-free cloth to remove any excess acrylic, and store your brush properly to keep it in good condition.
