Have you ever looked at your nails and thought, “Why can’t I get that fall vibe without spending hours at a salon?”
I get it. Fall is here, and everyone’s talking about pumpkin lattes, cozy sweaters, and those cute autumn-inspired nails. But who has time for complicated designs when you’re busy? You want easy fall nail designs at home, something you can pull off while watching Netflix.
Let me show you how to get those gorgeous autumn nails without any hassle. Grab a cup of tea, sit back, and let’s talk nails.
What You’ll Need to Create Easy Fall Nail Designs
Here’s the truth: you don’t need an entire beauty salon in your house to get great fall nails.
Here’s the basic toolkit you’ll need:
- Nail polish in autumn colours (Think shades like burnt orange, deep burgundy, mustard yellow, and rich browns)
- Top coat (for that smooth, shiny finish)
- Base coat (to protect your natural nails)
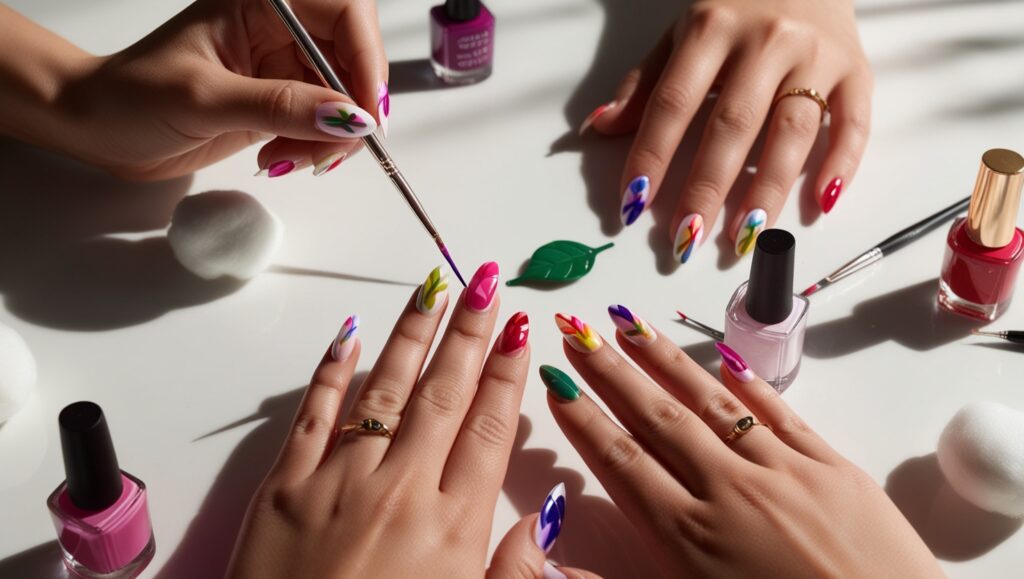
- Nail art brushes (or even toothpicks if you’re on a budget)
- Dotting tools (Optional, but useful for creating simple designs like dots or leaves)
- Nail stickers or decals (if you’re not into freehand designs)
Keep it simple. No need to break the bank or buy fancy tools.
Pick the Right Colours
Let’s talk colours. Fall nail designs are all about earthy tones, rich shades, and sometimes a little sparkle. Here are the fall colours you can’t go wrong with:
- Pumpkin orange
- Burgundy red
- Mustard yellow
- Forest green
- Warm browns
- Gold glitter
Now, don’t feel like you need all of these. Pick three or four that speak to you, and you’re good to go.
Step-by-Step: How to Do Easy Fall Nail Designs at Home
Ready to get those autumn vibes on your nails? Let’s jump into a few easy designs you can do in under 30 minutes. No, seriously.
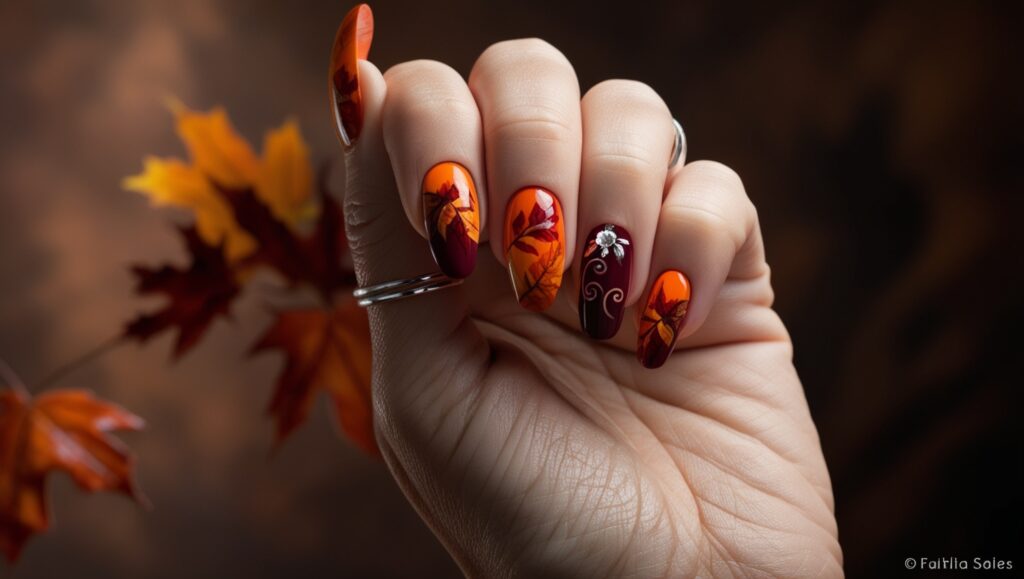
1. Simple Leaf Design
This is a classic fall nail design that gives you a sophisticated look without any fuss.
Here’s how to do it:
- Apply a base coat. Let it dry.
- Paint your nails with a neutral or nude colour (like a soft beige or light brown).
- Using a thin brush or toothpick, dip it in a darker colour (burnt orange or burgundy) and draw tiny leaves on a few accent nails.
- Top it off with a clear coat to seal in the design and give it a lasting shine.
This design is easy to do at home and works with any fall colour scheme.
2. Glitter Accent Nail
If you want a design that looks impressive but takes little effort, the glitter accent nail is your new best friend.
Here’s how to do it:
- Start by applying a base coat.
- Choose a fall colour like deep burgundy or dark brown for most of your nails.
- Pick one nail (usually the ring finger) and cover it in gold or bronze glitter polish.
- Topcoat everything to keep it neat and lasting.
It’s simple, but it pops. People will think you spent hours on it, but it’s our little secret.
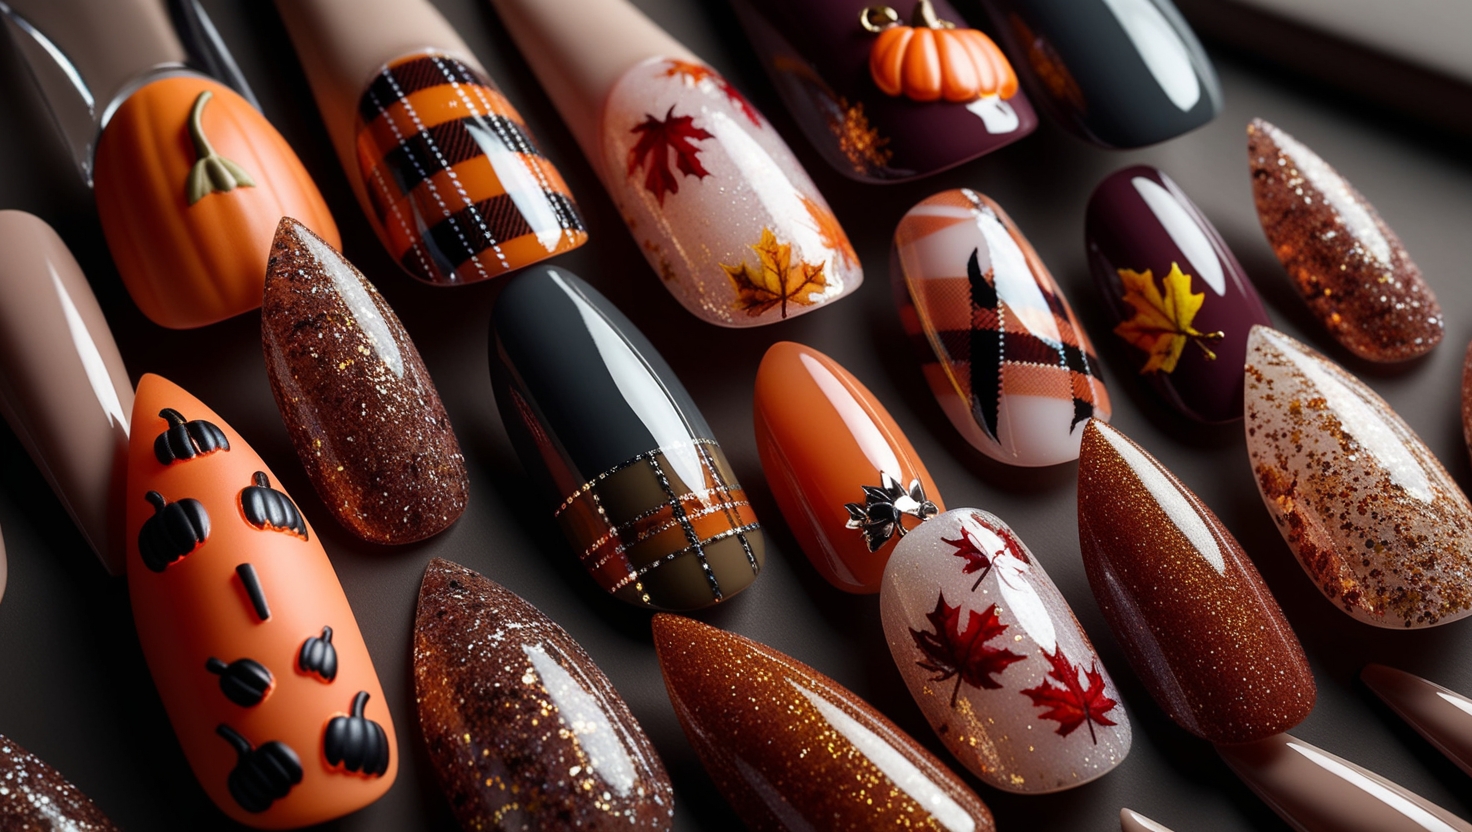
3. Easy Plaid Design
Plaid nails scream fall, right? But it doesn’t have to be difficult.
Here’s how to do it:
- Start with a nude or soft beige base.
- Once dry, use a thin brush and a deep colour (like burgundy or dark green) to draw two vertical lines and two horizontal lines on a couple of nails.
- For an extra touch, use a lighter shade (maybe white or gold) to add thinner lines next to the dark ones.
- Seal it with a topcoat, and you’re done.
This design is perfect for fall and looks super stylish.

How to Make Your Fall Nail Designs Last Longer
Alright, you’ve got your fall nails looking amazing. But how do you make sure they last?
Here are some quick tips:
- Always use a base coat. It protects your nails from staining and helps the colour stick better.
- Don’t skip the topcoat. A good topcoat will not only add shine but also protect the design from chipping.
- Avoid hot water right after doing your nails. Hot water can cause the polish to lift.
- Moisturise your cuticles. Dry cuticles can ruin the look of your nails. Use a little oil to keep them looking fresh.
More Fall Nail Design Ideas for Home
If you want to switch it up or add some variety, here are more fall nail designs you can try at home:
- Matte nails: Just swap your regular topcoat for a matte one. Matte burgundy or green is super chic for fall.
- Ombre nails: Blend two fall colours (like orange and red) for a subtle gradient look.
- Negative space designs: Use tape to block off parts of your nails and paint the rest with a fall colour. When you remove the tape, you’ve got a sleek, modern look.
- French tip twist: Instead of white, use fall colours for the tips of your nails. Think burnt orange tips on a nude base.
These designs take minimal effort but give you that autumn feel instantly.
Why You Should Do Easy Fall Nails at Home
Let’s face it—going to the salon is expensive. Plus, you don’t always have the time. Doing fall nails at home is not just budget-friendly but also gives you full control over the design.
You can change it up whenever you want, experiment with new trends, and do it all while binge-watching your favourite show.
By now, you’re probably realising that Easy Fall Nail Designs at Home are just that—easy.
All it takes is a few tools, some autumn colours, and a bit of patience. Whether you’re into simple designs like leaves or glitter accents, you can pull off stunning fall nails without stepping out of the house.
Quick Hacks to Make Your Fall Nail Designs Pop
When you’re doing easy fall nail designs at home, it’s the little things that can make a big difference.
Here are some pro-level hacks to get that salon-quality look:
1. Use a Matte Topcoat for an Edgy Look
Matte finishes are huge for autumn, and they work with any fall nail colour. Whether you’re using burgundy, mustard, or forest green, a matte topcoat adds a sophisticated edge.
You’ll instantly elevate your fall nail designs with just one extra layer.
2. Go for Metallic Accents
Autumn nails love a bit of sparkle, but instead of drowning your design in glitter, try adding a few metallic accents.
Use gold or copper nail polish to create tiny geometric shapes, dots, or lines on your nails. It gives you that subtle fall sparkle without being over the top.
3. Mix and Match Textures
Why stick to just one type of finish? Combine matte nails with glossy accents or even a velvet nail powder for a textured effect. Imagine one nail with a soft matte brown and another with a rich, glossy burgundy. The contrast is an eye-catcher.
Simple Designs for Beginners That Look Advanced
If you’re like me, you want designs that look pro but don’t require years of experience.
Here are a few simple fall nail designs that anyone can pull off:
1. Negative Space Fall Leaves
Leaves are iconic for fall, but this design is simpler than it looks.
- Start with a clear base coat.
- Choose a couple of nails where you’ll create the negative space effect.
- Use nail tape to create a leaf shape.
- Paint over the tape with a fall colour (burgundy or dark orange works well).
- Remove the tape to reveal your negative space leaf.
Finish with a topcoat and you’re done.
2. Pumpkin Tips
Want to switch up the classic French tip?
Instead of white tips, go for pumpkin orange tips. This design gives you that subtle nod to fall without getting too flashy. It’s super Easy Fall Nail Designs at Home and looks cute paired with a neutral base.
3. Gold Foil Accents
Gold foil might sound fancy, but it’s surprisingly easy to work with.
Here’s what you do:
- Apply your base colour (think deep burgundy or a warm brown).
- Once it’s mostly dry, gently press tiny bits of gold foil onto one or two nails.
- Topcoat it to keep everything in place.
This adds a bit of bling without being overwhelming, and it’s perfect for fall.
Mistakes to Avoid When Doing Fall Nail Designs at Home
It happens to the best of us. You’ve spent an hour perfecting your fall nail designs, and then something goes wrong.
Here are a few common mistakes that can mess up your designs—and how to avoid them:
1. Skipping the Base Coat
I know, it feels like an unnecessary extra step, but trust me. Skipping the base coat is the fastest way to ruin your nails. Not only does it prevent staining, but it also helps the polish stick better, which means longer-lasting fall nails.
2. Rushing Between Coats
Patience, my friend. Rushing through the process is the quickest way to smudge your hard work. Let each layer dry properly before moving on to the next one. If you’re using gel polish, make sure to cure each layer completely.
3. Forgetting the Topcoat
A topcoat is your secret weapon. It seals the design, adds shine, and prevents chipping. If you want your fall nail designs to last more than a couple of days, don’t skip this.
How to Take Care of Your Fall Nails So They Last Longer
You’ve done the work. Your nails look fantastic. Now, how do you make them last? Here’s how to keep those fall nail designs looking fresh for as long as possible.
- Moisturise your cuticles daily. Dry cuticles can ruin the overall look of your nails, no matter how perfect your design is.
- Wear gloves when doing any household chores. Cleaning products can weaken your polish, causing it to chip faster.
- Reapply topcoat every few days. This keeps the shine and helps your nails stay chip-free.
Seasonal Variations for Fall Nails
Just because it’s fall doesn’t mean you’re limited to certain designs.
Mix it up with these seasonal variations on classic fall nail designs.
1. Autumn Gradient Nails
Take two or three classic fall colours (like burgundy, mustard, and dark green) and blend them together for a gradient effect. It gives you that beautiful, autumn feel without being too in-your-face.
2. Smoky Nails
For a more subtle fall look, try a smoky nail design. It’s done by swirling two complementary fall colours together before they dry. The result is a unique, marbled look that’s perfect for the season.
At-Home Nail Art on a Budget
Let’s be real—nail art can get pricey. But you don’t need to break the bank to get stunning fall nail designs at home. Here are a few budget-friendly tips:
- Use toothpicks or bobby pins for dotting and drawing lines instead of expensive nail tools.
- Nail stickers or decals can be a game-changer if you’re not confident with freehand designs. They’re affordable and easy to apply.
- Instead of buying a ton of polishes, mix your existing colours to create new shades. A little bit of red mixed with a neutral can give you a unique burnt orange, perfect for fall.

FAQs
1. How do I make my fall nail designs last longer?
To make your fall nail designs last longer, always apply a base coat before your nail polish and a topcoat afterward. Reapply the topcoat every few days, avoid exposing your nails to harsh chemicals, and moisturise your cuticles regularly.
2. What are some easy fall nail designs for beginners?
Some easy designs include glitter accent nails, plaid patterns, and pumpkin-tipped French nails. These designs require minimal tools and time but still look great for autumn.
3. What are the best autumn colours for fall nail designs?
For fall, go with earthy tones like burnt orange, mustard yellow, burgundy, forest green, and chocolate brown. Add some metallic accents or glitter for a festive touch.
4. How often should I redo my fall nails?
It depends on how well you care for your nails. If you follow good nail care habits like applying a base coat, using a topcoat, and moisturising your cuticles, your fall nail designs can last up to two weeks.
5. Can I do fall nail designs without any tools?
Absolutely. You can use everyday items like toothpicks, bobby pins, or even tape to create simple designs. Stickers and decals are also a great option if you’re not confident with freehand designs.
